
If your พีซีเปิดไม่ติด, start with safe, read-only checks: verify the case power switch wiring and standby power, then reseat and inspect the 24‑pin ATX and 8‑pin EPS connectors. Use motherboard POST LEDs/beeps to narrow the fault, and only then bench-test one component at a time to isolate PSU, RAM, GPU, CPU, or motherboard issues.
Immediate triage summary
- Confirm AC power, PSU switch, and motherboard standby indicators before opening the case.
- Check front-panel PWR/RESET wiring and rule out a stuck reset switch.
- Reseat and visually inspect the 24‑pin ATX and 8‑pin EPS connectors (most common missed connection).
- Use POST LEDs/beeps to decide whether the failure is power, RAM, GPU, or CPU initialization.
- Bench-test with minimal parts (board + CPU + cooler + 1 RAM stick + PSU) before swapping hardware.
- Escalate to multimeter voltage checks only after non-destructive steps are exhausted.
Front-panel power and reset switches: verification and fixes
User-visible signs you may notice when คอมเปิดไม่ติด ซ่อม starts with the front-panel area:
- No response at all: no fans, no LEDs, no PSU noise.
- Brief flicker of fans/LEDs, then immediate shutdown.
- PC turns on only intermittently, or only after holding the button for a long time.
- PC powers on by itself or instantly shuts off after pressing the power button (often a stuck reset/power switch).
- Read-only external checks first: confirm the wall outlet works, the PSU rear switch is ON (I), and the power cord is fully seated on both ends.
- Observe motherboard standby power: with AC connected and PSU ON, many boards show a small standby LED. If there is no standby indication, suspect AC/PSU/24-pin path before blaming the power button.
- Inspect front-panel header wiring: find the motherboard header labeled F_PANEL/JFP1. Ensure PWR_SW is on the correct two pins and is not swapped with HDD_LED/POWER_LED.
- Rule out a stuck reset: temporarily disconnect RESET_SW from the header and try powering on using only PWR_SW.
- Bypass the case switch (careful but low-risk): with the system off, momentarily short the two PWR_SW pins using a screwdriver tip for less than 1 second. If it powers on reliably, the case switch/wiring is the likely fault.
- Check for shorts: ensure no loose screw or metal standoff is touching the motherboard underside, and that only required standoffs are installed.
Power supply connectors: inspecting and testing 24‑pin ATX and 8‑pin EPS
- Power down, switch PSU OFF, and unplug AC before touching internal connectors.
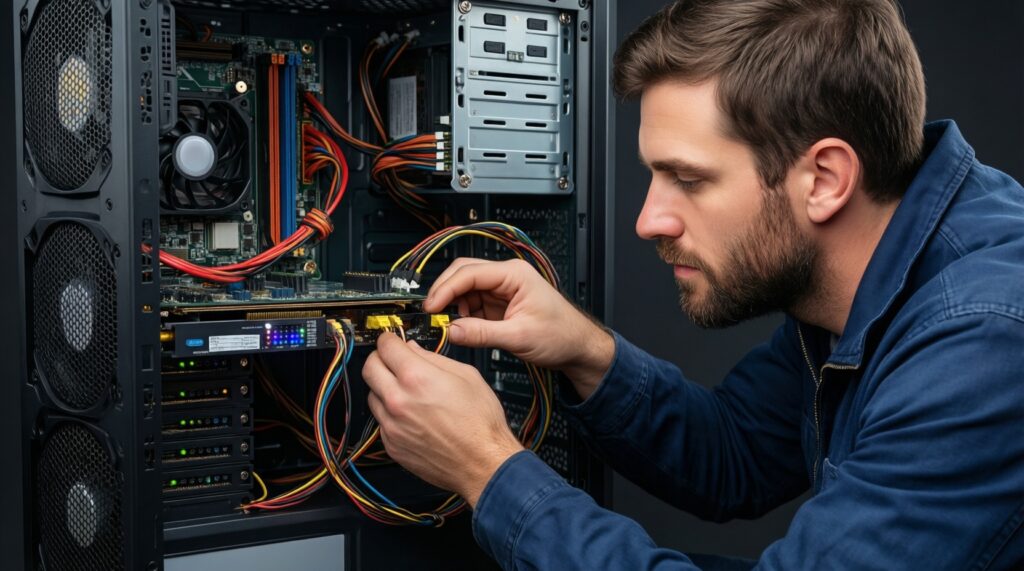
- Reseat the 24‑pin ATX on the motherboard: push until the latch clicks; confirm the latch is fully engaged.
- Reseat the 8‑pin EPS/CPU power near the CPU socket (often labeled CPU_PWR/ATX12V). Do not confuse it with an 8‑pin PCIe GPU cable.
- If your PSU provides 4+4 EPS, ensure both halves are aligned and fully inserted (no partial insertion).
- Inspect the connector housings for heat discoloration, melted plastic, or browned pins; any sign of overheating is a stop signal.
- Trace modular cables end-to-end: confirm the cable is in the correct PSU-side port (CPU vs PCIe vs peripheral). Never mix cables between different PSU models/brands.
- Check GPU power cables (6/8/12VHPWR) if a discrete GPU is installed; a missing GPU power lead can prevent POST on many systems.
- Confirm RAM is fully latched on both ends; incomplete seating can look like a power fault.
- Listen/observe at power press: PSU fan twitch + immediate stop can indicate short protection, overload, or a failing PSU.
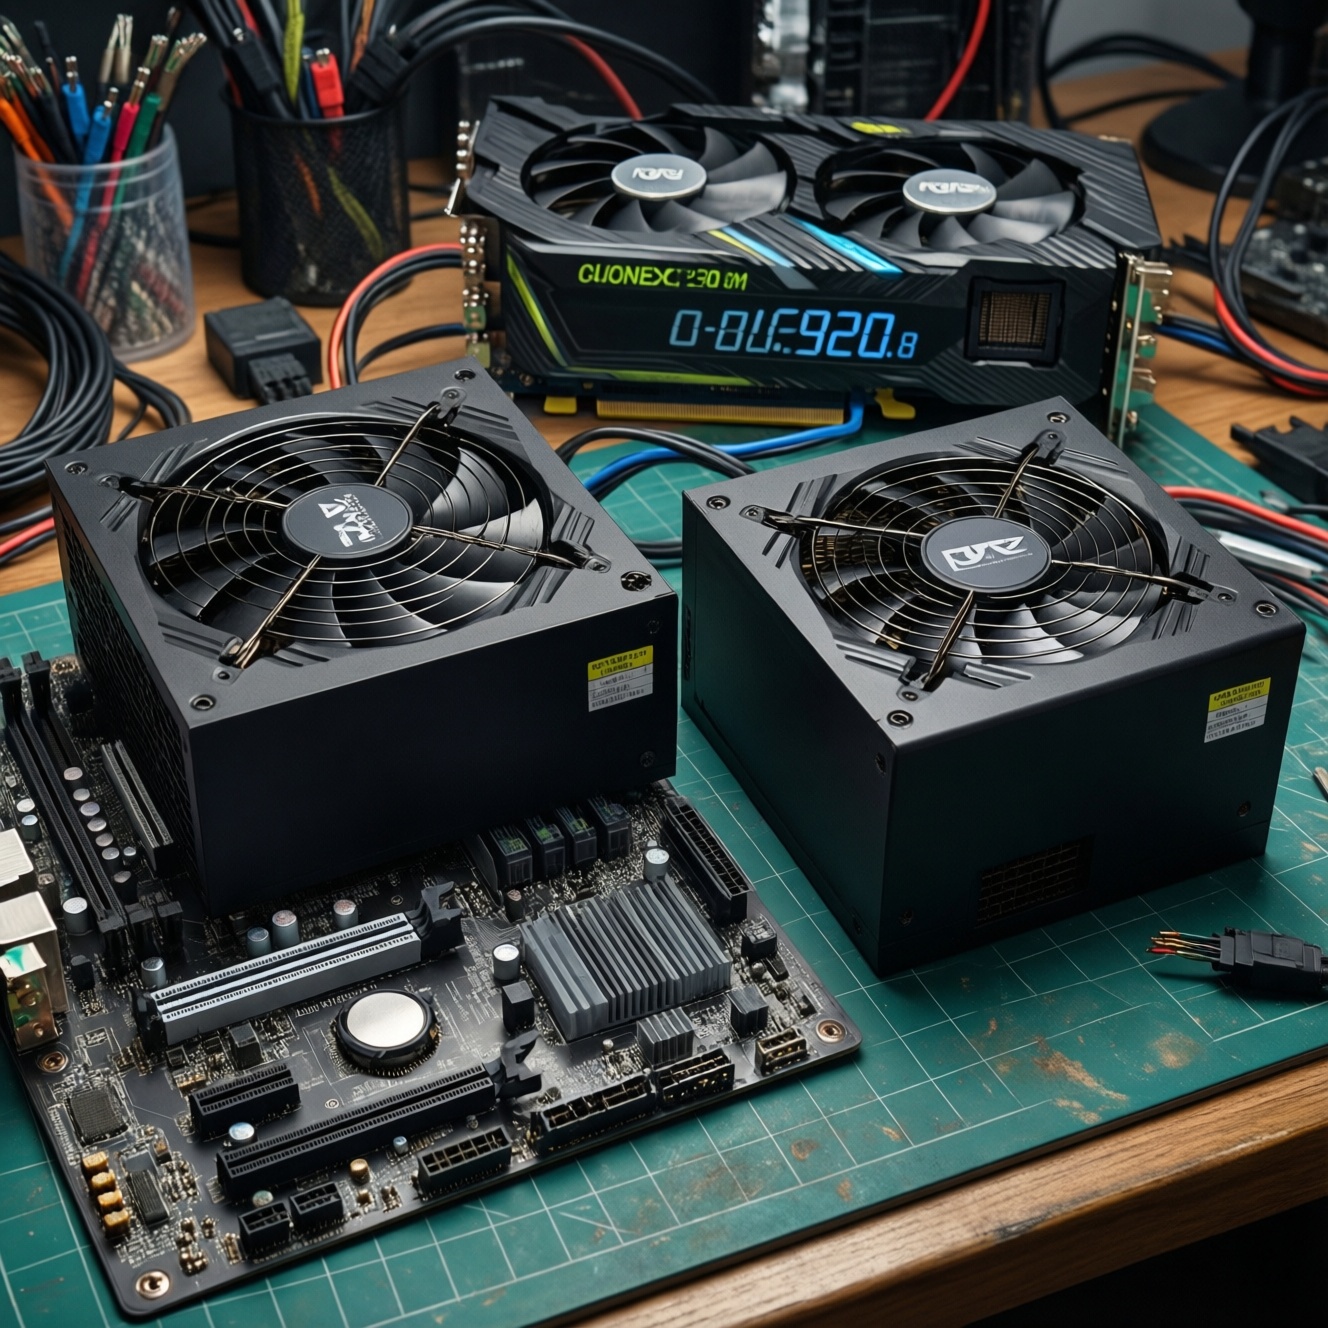
- If you are considering ซื้อพาวเวอร์ซัพพลาย PSU, treat it as a diagnosis step only after you've ruled out front-panel and connector issues.
POST signals, motherboard LEDs and beep code interpretation
POST indicators are your safest "read-only" diagnostic tools. Use the board's Q‑LED/Debug LED/beeper (if installed) to see which stage fails. If you suspect เมนบอร์ดเสีย อาการ เปิดไม่ติด, these checks help you avoid unnecessary parts swaps.
| Symptom | Possible causes | How to verify (safe-first) | How to fix (lowest risk first) |
|---|---|---|---|
| No standby LED, no reaction at all | No AC power; PSU switch OFF; PSU failure; 24‑pin not seated; short protection | Test outlet with another device; confirm PSU rear switch; re-seat 24‑pin; disconnect peripherals and retry | Correct AC/cord/switch; reseat 24‑pin; remove suspected short; replace PSU if still dead |
| Fans spin for a moment then stop | Short to chassis; EPS 8‑pin missing; CPU power issue; PSU protection trip | Verify 8‑pin EPS connected; check for extra standoffs; run minimal build outside case | Connect EPS; correct standoffs; re-mount board; if repeats with minimal build, test PSU/board |
| CPU LED stays on (or debug code stuck early) | CPU not seated; bent pins (LGA); EPS cable wrong; BIOS incompatibility with CPU | Confirm EPS is CPU cable (4+4), not PCIe; inspect socket/pins with good light; check CPU support list/BIOS note | Reseat CPU and cooler evenly; correct EPS cable; update BIOS using vendor method (only if board supports safe flashback) |
| DRAM LED stays on / continuous beeps | RAM not seated; wrong slot; unstable XMP/EXPO; bad module | Try 1 stick in the recommended slot; clear CMOS (per manual); visually confirm latches closed | Reseat RAM; run at default settings; test each stick/slot; replace faulty RAM |
| VGA LED stays on / no display but system seems running | GPU not seated; missing GPU power; display cable on wrong port; faulty GPU | Ensure monitor cable is on GPU (not motherboard) if using discrete GPU; check PCIe power plugs; try known-good cable/port | Reseat GPU; connect correct PCIe power; test iGPU (if available); replace/repair GPU |
| Boot LED on / enters BIOS but won't boot OS | Drive not detected; boot order; failed SSD/HDD | Check BIOS storage list; reseat SATA/power; try another SATA port/cable | Fix boot order; replace cable/port; test drive in another PC; replace drive if dead |
Practical interpretation tips (without guessing)
- If the board has a 2-digit debug display, record the last stable code and compare with the motherboard manual.
- If you have no beeper installed, consider attaching a simple motherboard speaker temporarily; it's passive and low-risk.
- Do not keep power-cycling rapidly; allow a few seconds between attempts to avoid repeated protection trips.
Bench testing: isolating CPU, RAM, GPU and PSU one component at a time
- Shut down safely: switch PSU OFF and unplug AC. Press the case power button once to discharge residual power.
- Build a minimal configuration: motherboard + CPU + cooler + 1 RAM stick + PSU. Remove GPU (unless no iGPU), extra RAM, storage, and all nonessential USB devices.
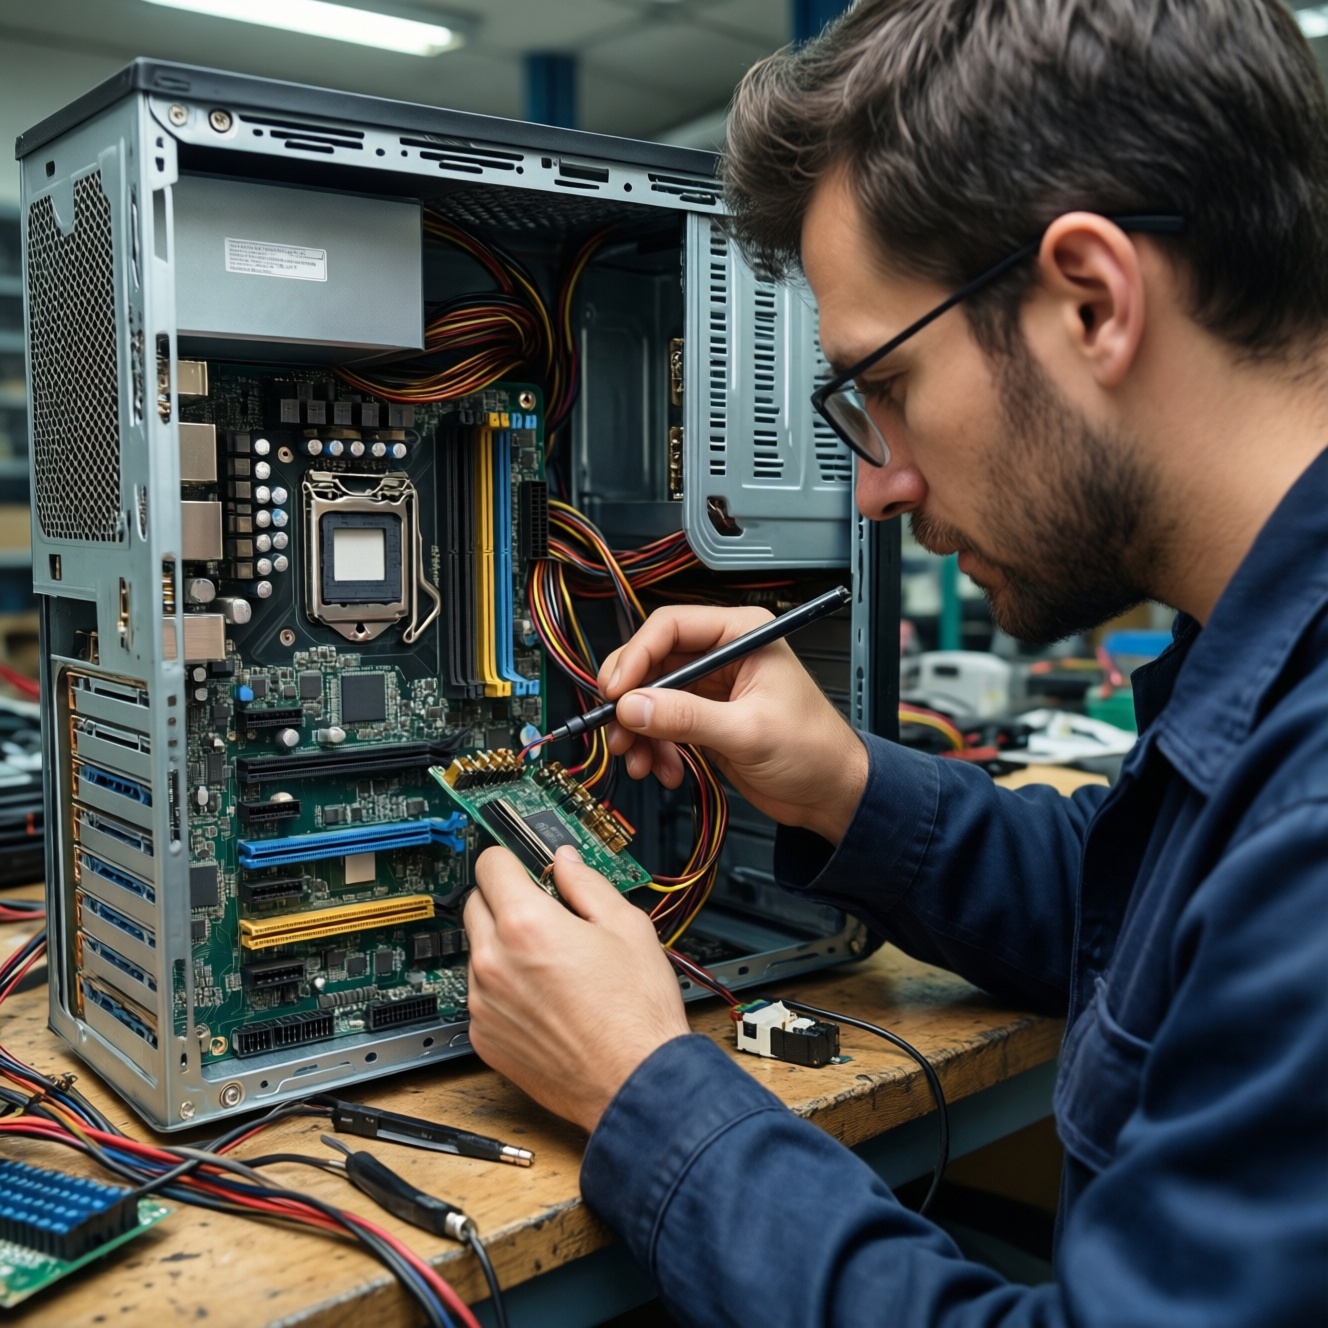
- Run outside the case: place the motherboard on its box (non-conductive) to eliminate chassis shorts. Connect only 24‑pin ATX and 8‑pin EPS, plus CPU fan.
- Power on by header short: momentarily short PWR_SW pins. Watch POST LEDs/debug code progression for at least 30 seconds.
- RAM isolation: try the same stick in the other recommended slot; then try a different stick. Do not enable XMP/EXPO during diagnosis.
- GPU isolation (if required): if you need a discrete GPU, reseat it, connect the correct PCIe power leads, and test with a known-good monitor cable.
- Storage last: once you can reach BIOS reliably, add one drive at a time to identify a shorted or failing device.
- PSU substitution (controlled): only after the above, test with a known-good PSU of adequate capacity and correct EPS/PCIe connectors. This is often faster than deep PSU probing.
If you are searching for ซ่อมคอมพิวเตอร์ใกล้ฉัน เปิดไม่ติด in Thailand, do the minimal-bench test first: it gives a clear symptom trail (LEDs/codes) that a shop can verify quickly without repeated part swaps.
Practical methods for measuring voltages and loading the PSU safely
Escalate to electrical measurements only when connector reseating and minimal bench testing still leave you with "no standby/no start" or immediate protection shutdown. Use a multimeter; avoid improvising loads that can overheat wiring.
ATX voltage checks that are meaningful (and low drama)
- Identify a ground reference: any black wire on the 24‑pin ATX is ground.
- Check +5VSB (standby): on the 24‑pin, the purple wire should read approximately +5V when AC is connected and PSU switch is ON, even if the PC is "off". If +5VSB is missing, focus on PSU/AC path.
- Check PS_ON behavior: the green wire (PS_ON) is typically near +5V at rest and is pulled low (near 0V) when the motherboard requests power-on. If it never goes low when you press power, suspect front-panel header, board logic, or a short trip preventing start.
- After power-on request, verify rails: yellow is +12V, red is +5V, orange is +3.3V. If rails appear then collapse instantly, suspect protection shutdown from short/overload or internal PSU fault.
- Check PWR_OK: the gray wire (PWR_OK) should rise to about +5V shortly after rails stabilize. If rails are present but PWR_OK never asserts, the PSU may be unstable or the system may be tripping.
When to stop DIY and hand off
- Any smell of burning, visible charring, or melted connector housings.
- Repeated instant shutdown even on a minimal build outside the case.
- Evidence of liquid damage or corrosion on the motherboard.
- You suspect mixed modular PSU cables were used (high risk of component damage).
- You cannot confirm CPU socket integrity (bent pins) without proper tools and lighting.
When to replace parts: diagnosing irreparable motherboard and PSU faults
- Replace the PSU if +5VSB is absent with known-good AC power and correct cabling, or if it cannot assert stable rails/PWR_OK under a minimal configuration.
- Replace (or RMA) the motherboard if a known-good PSU and minimal build still shows the same dead/no-POST behavior and you have ruled out shorts and front-panel wiring.
- Do not keep "testing" a PSU that shows heat damage on the 24‑pin/EPS plugs; replace first, then re-test other parts.
- If POST stops at CPU consistently and you confirm correct EPS cabling, consider motherboard/CPU socket damage before buying RAM/GPU.
- If POST stops at DRAM with multiple known-good sticks and slots, suspect motherboard memory power/trace issues.
- Prefer swapping with a known-good part for confirmation before purchasing; uncontrolled "parts roulette" is expensive and slow.
- Prevent recurrence: ensure correct standoff placement, avoid overtightening, route cables to reduce connector strain, and use a surge protector/UPS appropriate for your setup.
- Document your findings (LED states, debug codes, what was removed) so a technician can reproduce the fault quickly if you proceed with service.
Concise answers to frequent power‑on failure scenarios
The PC shows no lights and no fan movement. What should I check first?
Confirm the outlet and power cord, PSU rear switch, and look for motherboard standby power (+5VSB/standby LED). If standby is absent, focus on PSU/24‑pin path before anything else.
Fans twitch for a second and the system shuts off. Is it the PSU?
It can be PSU protection, but a chassis short or missing 8‑pin EPS is equally common. Try a minimal build outside the case and confirm the EPS CPU cable is fully seated.
I reseated the 24‑pin ATX but it still won't start. What's the next connector to verify?
The 8‑pin EPS/CPU power near the CPU socket. Using an 8‑pin PCIe cable by mistake can prevent POST or cause immediate shutdown.
No display, but the PC seems to run. What's the safest display check?
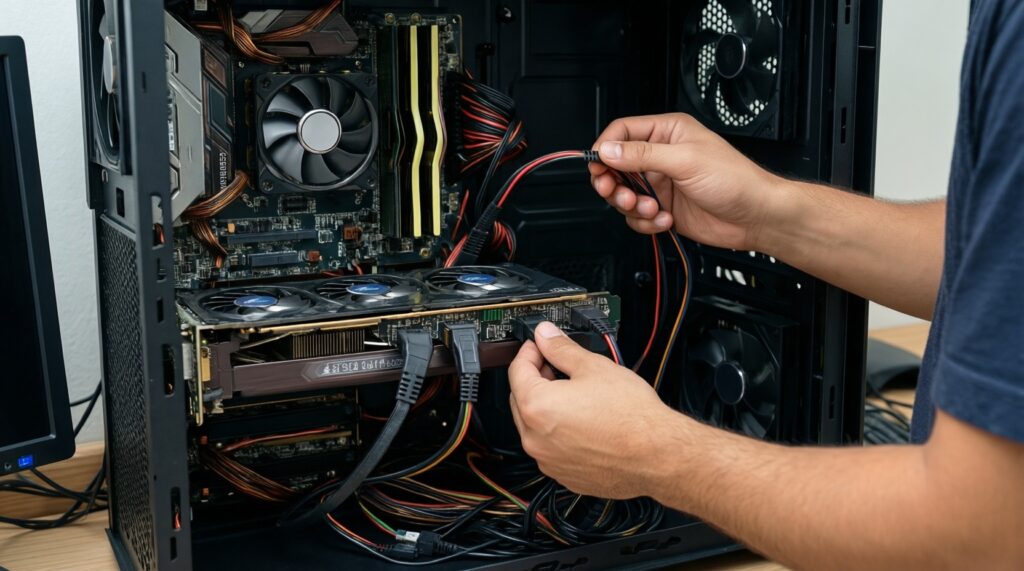
Verify the monitor cable is connected to the correct output (GPU vs motherboard) and reseat the GPU. Also confirm all GPU power connectors are attached.
How do I know if the motherboard power button header is the issue?
Disconnect RESET_SW and momentarily short the PWR_SW pins on the header to bypass the case button. If it starts reliably, the case switch or wiring is the likely culprit.
When does "เมนบอร์ดเสีย อาการ เปิดไม่ติด" become the most likely diagnosis?
After a known-good PSU and minimal bench configuration still cannot produce stable POST indicators, and you have ruled out shorts, RAM seating, and correct EPS/ATX cabling.
Should I buy a new PSU immediately if "พีซีเปิดไม่ติด" happens?
Not immediately. Do the front-panel and connector checks first, then minimal bench testing; only then does ซื้อพาวเวอร์ซัพพลาย PSU become a rational next step, ideally validated by testing with a known-good unit.