
To reach the lowest safe CPU temperatures, choose a thermal paste that matches your cooler pressure, your CPU's heatspreader shape, and your tolerance for electrical risk, then apply a thin, continuous layer with consistent mounting pressure. Most users should prefer non-conductive pastes and a simple dot/line method, verifying results with a quick temperature check after reassembly.
Quick selection checklist for CPU thermal compounds
- Prefer electrically non-conductive paste unless you truly need specialty materials (safer for intermediate users).
- Match viscosity to your mounting style: thicker for direct-die/high pressure, medium for most tower AIO blocks.
- Choose a paste that is easy to spread into a thin film without voids (especially for larger IHS CPUs).
- Avoid anything that requires special handling (e.g., liquid metal) if your socket area is crowded with SMD parts.
- Plan cleaning: isopropyl alcohol, lint-free wipes, and time for careful removal matter as much as paste choice.
- Buy only what you'll use soon; storage and repeated opening increases contamination risk (relevant when you ซื้อซิลิโคนซีพียู online/offline).
Understanding silicone-based versus non-silicone thermal pastes
In Thai searches you'll often see questions like ซิลิโคนซีพียู ยี่ห้อไหนดี. Brand matters less than the compound type and safety profile. Silicone-based pastes are typically forgiving and stable for everyday builds; many higher-end "non-silicone" formulas (often with ceramic/carbon fillers) aim for better performance and longer stability, but can be harder to apply cleanly.
| Type | Typical properties | Pros | Cons / risks | Best use case |
|---|---|---|---|---|
| Silicone-based (general purpose) | Moderate viscosity, easy cleanup | Beginner-friendly, usually non-conductive | May dry out sooner under high heat cycles | Office/gaming PCs, frequent maintenance |
| Ceramic-filled (often non-silicone) | Medium-high viscosity, stable film | Good stability, typically non-conductive | Can be harder to spread thinly | Tower coolers, daily gaming, warm climates |
| Carbon-based | Smooth application, stable | Easy to apply, usually safe electrically | Messy if over-applied | Small-form-factor builds where cleanup is harder |
| Metal particle paste | Dense, can stain surfaces | Potentially strong performance | May be slightly conductive/capacitive; higher spill risk | Experienced users who can control application |
| Liquid metal | Very low viscosity, special handling | Excellent heat transfer potential | Electrically conductive; can damage aluminum; spill hazards | Advanced delid/direct-die scenarios only |
When not to use specialty compounds: avoid liquid metal if you're not isolating surrounding components, if your cooler has aluminum contact surfaces, or if you frequently transport the PC. If your priority is simply "ซิลิโคนซีพียู ระบายความร้อนดีที่สุด", start with a safe, non-conductive paste and correct mounting-this is where most temperature gains come from.
Key specifications: thermal conductivity, viscosity, curing and longevity
Ignore marketing extremes and focus on install behavior and stability. Also remember that ซิลิโคนซีพียู ราคา varies widely in Thailand by shop and import stock; higher price doesn't guarantee better results if the paste pumps out or you apply too much.
What you need (tools and access)
- Cleaning: 90%+ isopropyl alcohol, lint-free wipes/coffee filters, cotton swabs for edges.
- Basic tools: correct screwdriver bits, a small flashlight for socket edge inspection.
- Optional: plastic spreader (only if you're trained to keep the layer ultra-thin), nitrile gloves.
- Monitoring: a temperature tool in OS; on Linux,
sensors(lm-sensors) is the quickest validation method.
Specs that actually change outcomes
- Viscosity (thickness): too thin can run/pump out; too thick can trap air if mounting pressure is low.
- Curing time: some pastes settle after heat cycles; don't judge final temps from the first boot alone.
- Longevity/pump-out resistance: important for high-mount-pressure coolers and frequent thermal cycling.
- Electrical behavior: "non-conductive" is your default unless you knowingly accept risk and have masking/insulation skills.
How substrate and socket affect paste choice and electrical safety
Socket layout and nearby components decide how risky a paste is. Tight SMD clusters around many modern sockets make spill control critical; for these, non-conductive paste is the safest default. If you're searching ซิลิโคนซีพียู ทายังไง, follow the steps below exactly-most problems come from cleaning and mounting, not the paste brand.
-
Power down and discharge safely
Shut down, switch off the PSU, and unplug. Press the power button briefly to discharge residual power, then ground yourself before touching the socket area.
-
Remove the cooler without twisting the CPU out
Loosen screws in a cross pattern. If the paste is stuck, warm the system briefly before shutdown, then gently twist the cooler a few millimeters to break suction.
-
Clean both contact surfaces to bare, matte metal
Wipe old paste from the CPU IHS and cooler base using isopropyl alcohol until no residue transfers to a clean wipe.
- Use cotton swabs for edges; avoid dripping alcohol into the socket.
- Do not scratch plated surfaces with metal tools.
-
Inspect socket perimeter and cooler base flatness
Check for leftover paste near SMD components, dents, or fibers. Any debris can create a hotspot and make you blame the paste incorrectly.
-
Choose the application pattern for your CPU shape
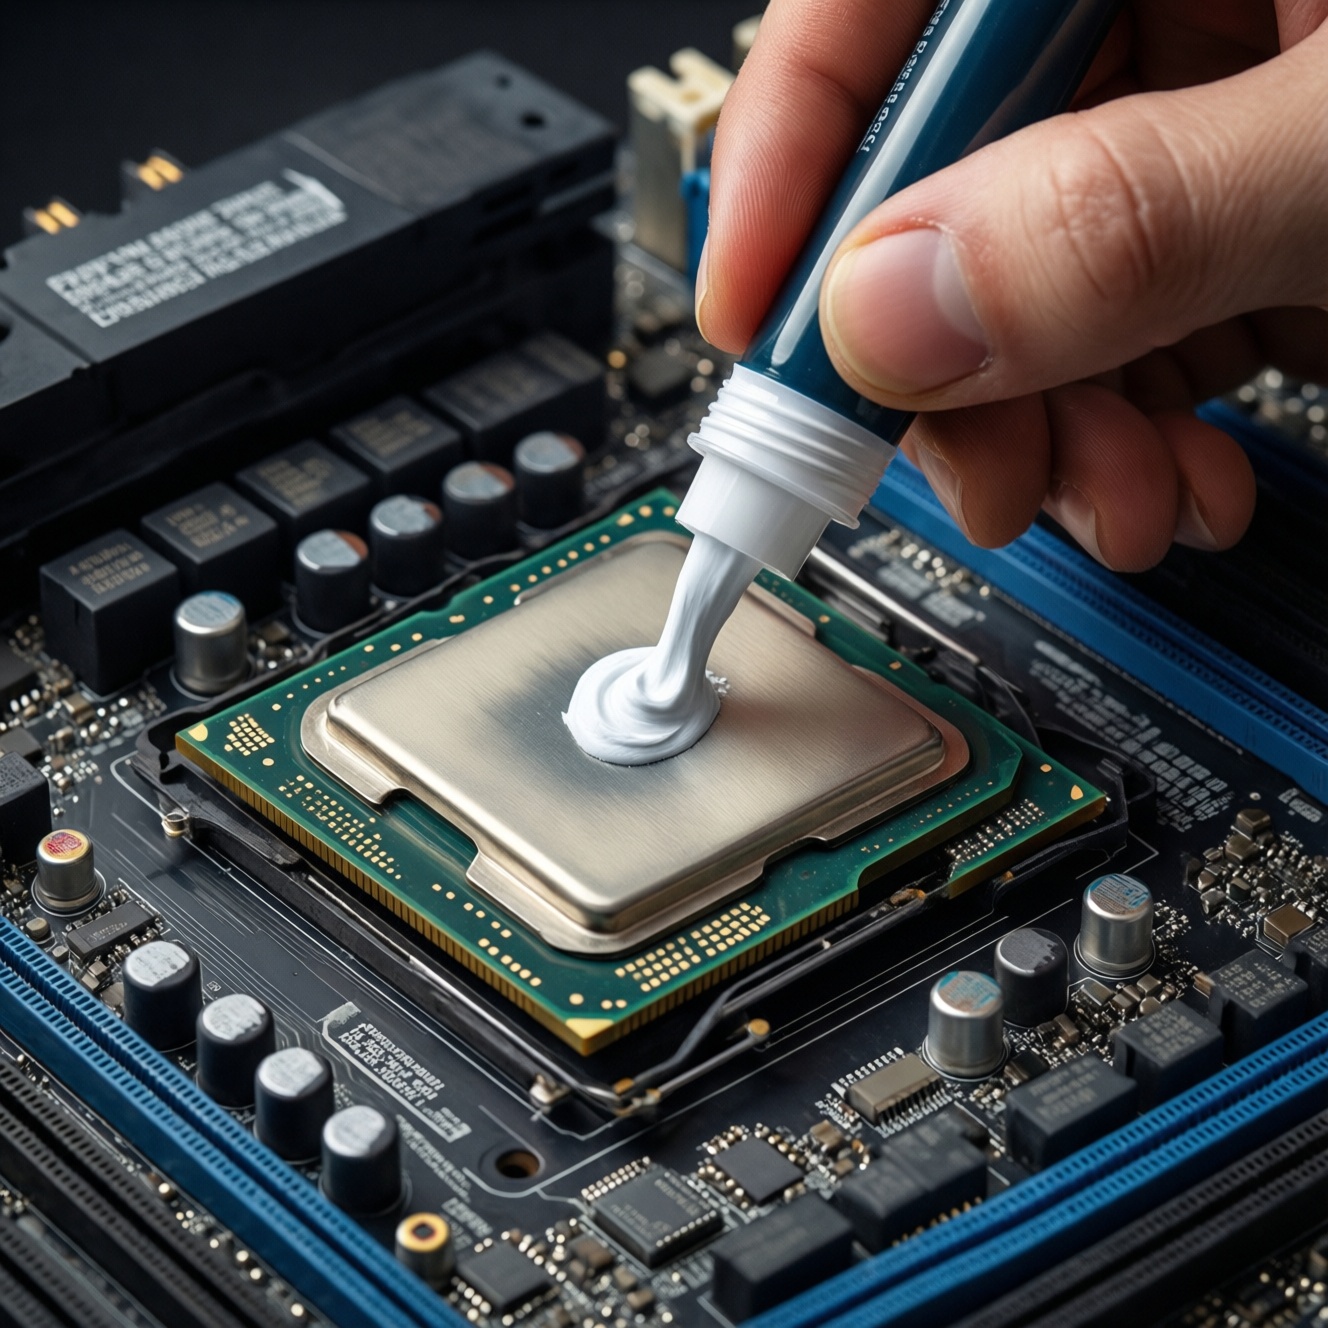
Use minimal paste: it should fill micro-gaps, not act as a thick layer. For most desktop CPUs, start with a small central dot; for elongated dies/IHS, use a short line along the long axis.
- Avoid full manual spreading unless you can keep it ultra-thin and bubble-free.
- Keep paste away from the CPU edge to prevent squeeze-out.
-
Mount with even pressure and correct screw order
Place the cooler straight down, apply light downward pressure, then tighten in a cross pattern gradually until fully seated. Recheck that the mounting bracket is not skewed.
-
Reconnect and validate temperatures immediately
Confirm fan/pump headers are connected, boot to OS, then monitor idle and load temperatures. On Linux, run
watch -n 1 sensorswhile applying a CPU load to confirm the temperature behavior is stable.
Fast mode (Быстрый режим)
- Clean IHS + cooler base with isopropyl alcohol until fully residue-free.
- Apply a small central dot (or a short line for long IHS) and do not spread.
- Mount the cooler straight down; tighten screws crosswise in small increments.
- Boot and monitor temps; if they spike instantly, recheck mounting pressure and fan/pump headers.
Step-by-step correct application for various cooler types
- Tower air cooler: dot/short line works best; prioritize even cross-tightening to avoid tilt.
- AIO liquid block: keep paste minimal; confirm pump header mode and tubing isn't pulling the block sideways.
- Small-form-factor low-profile: use slightly less paste than you think; squeeze-out is harder to clean near tight sockets.
- Direct-die (advanced): only with proper protection; default guidance here is to avoid it for safety.
Post-install validation checklist (do this before calling it "good")
- CPU fan/pump is detected and behaves correctly in BIOS/UEFI.
- No immediate thermal throttling under a short load.
- Temperatures rise smoothly under load (no instant spikes that suggest poor contact).
- Fan curve reacts normally; no sudden 100% fan due to sensor jumps.
- No paste visible around the CPU edge or on nearby components.
- Cooler is firmly seated; no rocking when gently touched (PC powered off).
- After a few heat cycles, temps remain consistent (not progressively worsening).
Troubleshooting temperature issues after reapplying thermal paste
- Too much paste: can increase thickness and trap heat; redo with a smaller amount.
- Too little paste: leaves dry gaps; redo using a small dot/line and correct mounting pressure.
- Uneven mounting pressure: one side tightened first tilts the cooler; loosen and retighten crosswise.
- Forgotten plastic film: some coolers ship with a protective film on the cold plate; remove it.
- Dirty contact surfaces: residue or fibers cause hotspots; clean again with lint-free materials.
- Pump/fan misconfiguration: AIO pump on a low-speed header can overheat quickly; ensure correct header and BIOS settings.
- Case airflow regression: repasting won't fix a blocked intake filter or reversed fans; restore airflow first.
- Wrong expectation from "best paste": chasing ซิลิโคนซีพียู ระบายความร้อนดีที่สุด won't help if the cooler is undersized or mounting is poor.
When to replace thermal paste: signs, intervals and testing
Replace paste when you see unstable temperatures, mounting was disturbed, or the system has been opened and dust/airflow changes mask the real issue. If you're deciding whether to ซื้อซิลิโคนซีพียู again, confirm it's actually a paste problem with a quick repeatable test.
Practical alternatives before you repaste again
- Re-seat the cooler only: if temps spike instantly, contact pressure/alignment is often the culprit.
- Fix airflow: clean filters, confirm intake/exhaust orientation, and ensure the GPU isn't heat-soaking the CPU cooler.
- Adjust power/boost limits: a small power cap can reduce peak temps more reliably than switching paste types.
- Upgrade the cooler: if sustained load is the problem, cooling capacity matters more than paste choice.
Practical answers to common thermal paste dilemmas
Is there a single answer to "ซิลิโคนซีพียู ยี่ห้อไหนดี"?
No-choose by electrical safety, viscosity, and how easy it is to apply thinly with your cooler. For most intermediate users, a non-conductive paste from a reputable seller is the best risk-balanced option.
How much paste should I use?
Use the minimum that produces full coverage under mounting pressure. A small dot (or short line for long IHS) is usually enough; excess paste mainly increases mess and risk of squeeze-out.
Which pattern is safest if I'm unsure: dot, line, or spread?
Dot is the safest default for most desktop CPUs. Use a short line for elongated heatspreaders; avoid manual spreading unless you can keep a uniform, bubble-free thin film.
Can thermal paste be electrically dangerous?
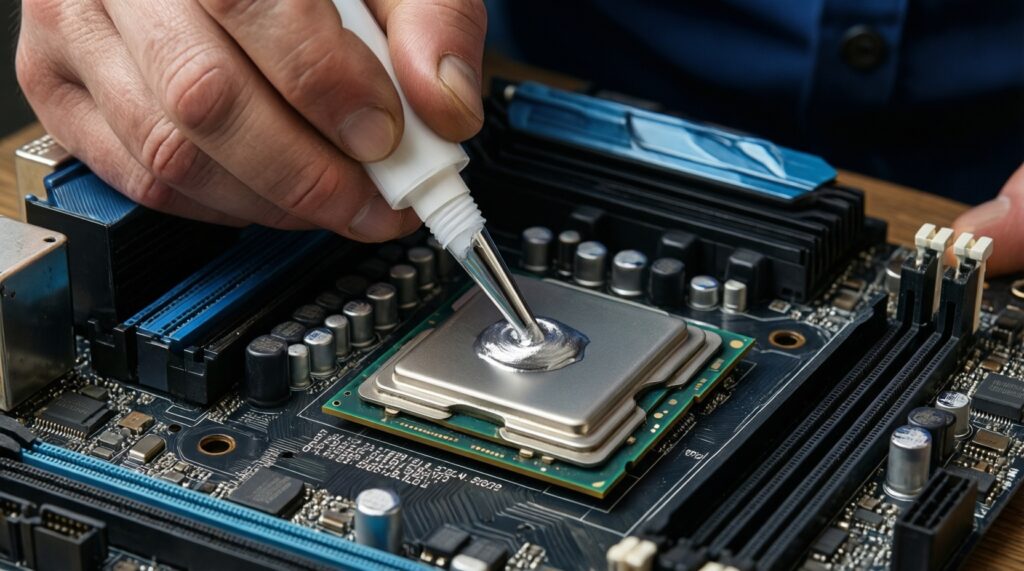
Yes-some metal-based pastes and liquid metal can be conductive or capacitive. If you can't guarantee zero spill near socket components, stick to clearly non-conductive paste.
Why did temperatures get worse after repasting?
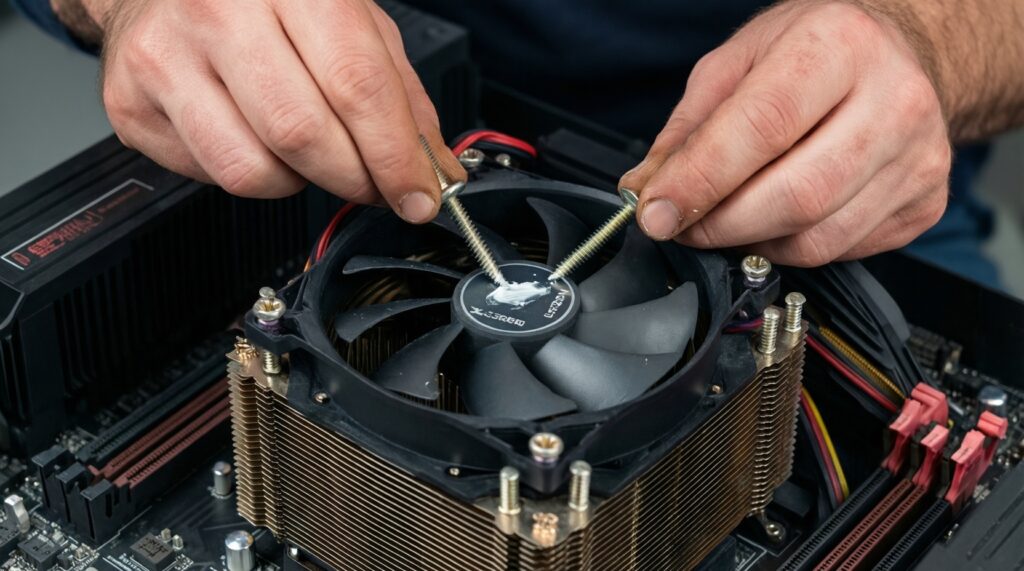
Most commonly: uneven mounting pressure, leftover residue, or too much/too little paste. Recheck cooler seating and tighten crosswise before blaming the compound.
How do I quickly verify results after reassembly?
Monitor temps at idle and under a short controlled load. On Linux, run watch -n 1 sensors during a CPU stress run and look for smooth, stable temperature behavior without instant spikes.
Does "ซิลิโคนซีพียู ราคา" indicate performance?
Not reliably. Pay for consistent application and safety features, and buy from a trustworthy source; mounting quality and cooler capability usually dominate outcomes.