
To อัปเดต BIOS safely, do it only for a clear benefit (CPU/RAM support, stability fixes, security patches) and only after you can recover from failure (USB recovery, BIOS Flashback, or dual BIOS). Prepare backups and stable power, verify the exact motherboard model, then flash via the safest method your board supports.
When and Why to Update Your BIOS
- Update when you need new CPU support, improved memory compatibility, or a fix explicitly mentioned in the release notes.
- Update when you have an established recovery path (Flashback/Q-Flash Plus, dual BIOS, or vendor recovery procedure you have tested).
- Skip the update if your system is stable and you cannot tolerate downtime (workstation, exam PC, production machine).
- Skip the update if you cannot ensure clean power (no UPS, unstable outlet, frequent outages).
- Plan the update for a low-risk window: no overclocking, no urgent deadlines, and time for post-flash validation.
Assessing the Need: Risks, Benefits, and Timing
BIOS/UEFI updates can solve real compatibility issues, but a failed flash can leave the motherboard unable to boot. Update when the change log matches your problem or planned hardware upgrade, and avoid "just because there is a newer version." In Thailand, prioritize timing around power stability and have a UPS or a fully charged laptop-style backup power solution for the PC/monitor where possible.
- Good reasons: new CPU support, memory training fixes, NVMe/boot fixes, security/firmware vulnerability patch, critical stability bugfix.
- Weak reasons: curiosity, marginal tuning changes, "latest is best" with no matching symptoms.
- Do not update now: unstable power, unknown motherboard exact model/revision, no recovery method available, system currently overclocked/undervolted.
Preparing the System: Backups, Recovery Media, and Firmware Dumps
Before any วิธีอัปเดต BIOS เมนบอร์ด, make rollback and recovery realistic, not theoretical.
- Record current settings: photograph every BIOS page you changed (boot mode, SATA/AHCI/RAID, Secure Boot keys state, fan curves, XMP/EXPO, virtualization).
- BitLocker/device encryption: suspend BitLocker (Windows) and save the recovery key somewhere offline; firmware changes can trigger recovery prompts.
- Backup critical data: at minimum, copy irreplaceable files to external storage or cloud.
- Prepare recovery USB: one FAT32 USB stick (small and simple is best) for firmware flash/recovery; a second USB for OS recovery tools is helpful.
- Get motherboard utilities ready: download vendor flash tool if needed, plus chipset drivers for after the update if your troubleshooting plan involves BIOS reset.
- Optional but valuable: export a BIOS profile (if supported), and save a copy of the current BIOS/UEFI image if your board/tool supports "Save current ROM."
- Stabilize the machine: revert CPU/GPU/RAM to stock, disable memory overclocks, and remove manual voltage tweaks for the update window.
Identifying and Verifying the Correct BIOS/UEFI File for Your Model
Risk-aware limits (read before steps):
- Flashing the wrong file (wrong model or wrong PCB revision) is a common cause of a non-booting system.
- Do not rely on "looks similar" naming; vendors reuse series names across revisions and chipsets.
- Do not flash through Windows if your PC is unstable or prone to crashes; use UEFI flash or dedicated USB flashback when available.
- Do not interrupt the flash even if the screen is black or it seems stuck; forced power-off can corrupt firmware.
-
Identify exact motherboard model and revision
Check the motherboard silkscreen (printed on the PCB) for model and "REV"/revision, and confirm in BIOS/UEFI system information. For prebuilt PCs, use the OEM support page rather than the retail board page.
- If you are planning อัปเดต BIOS ASUS, confirm the board name matches ASUS naming exactly (including suffixes like -A, -F, WIFI).
- For อัปเดต BIOS MSI, check "MS-" board code and revision where applicable.
- For อัปเดต BIOS Gigabyte, revision matters often (rev. 1.0 vs 1.1 can use different BIOS lines).
-
Read release notes and pick the right version
Choose a version that explicitly addresses your need (CPU support, stability, security). If the vendor marks a BIOS as "beta," avoid it unless you need a specific fix and accept higher risk.
-
Download only from the official support page
Use the motherboard vendor's support site (or OEM support for branded systems). Avoid third-party BIOS mirrors to reduce the risk of tampered or mismatched files.
-
Verify the file and prepare the USB correctly
Confirm the downloaded archive matches the expected model and extract it fully. Format the USB stick as FAT32, then copy the BIOS file as instructed by your vendor (some methods require renaming the file).
- If using Flashback/Q-Flash Plus, follow the exact port and filename rules from your manual.
- Keep the USB simple: no extra tools, no deep folder paths, and avoid exFAT/NTFS unless the vendor explicitly supports it.
-
Document your current firmware state
Write down current BIOS version, boot mode (UEFI/CSM), and storage mode (AHCI/RAID). This prevents "it boots but can't find Windows" problems after defaults are loaded.
Safe Update Methods: Manufacturer Tools, USB Recovery, and Command-Line Options
Pick the method that minimizes moving parts. If your board supports a dedicated USB flashback feature, it is usually the most recoverable path because it can work even without a bootable system.
| Method | Best for | Main risks | Notes |
|---|---|---|---|
| UEFI built-in flasher (EZ Flash / M-Flash / Q-Flash) | Most users with stable system | Wrong file, power loss | Flash from BIOS/UEFI using FAT32 USB; avoid running other apps. |
| Dedicated USB Flashback / Q-Flash Plus (no CPU/boot needed) | Recovery-first, high safety margin | Wrong port/filename, impatience | Follow manual exactly; wait until the indicator LED pattern shows completion. |
| Windows vendor utility | Convenience when system is very stable | Driver conflicts, crash during flash | Avoid if you have BSOD history, unstable RAM, or heavy background apps. |
| Command-line/EFI shell tools (advanced) | Specific enterprise/OEM workflows | Wrong parameters, wrong image | Use only when vendor documentation explicitly targets your model. |
Post-update verification checklist
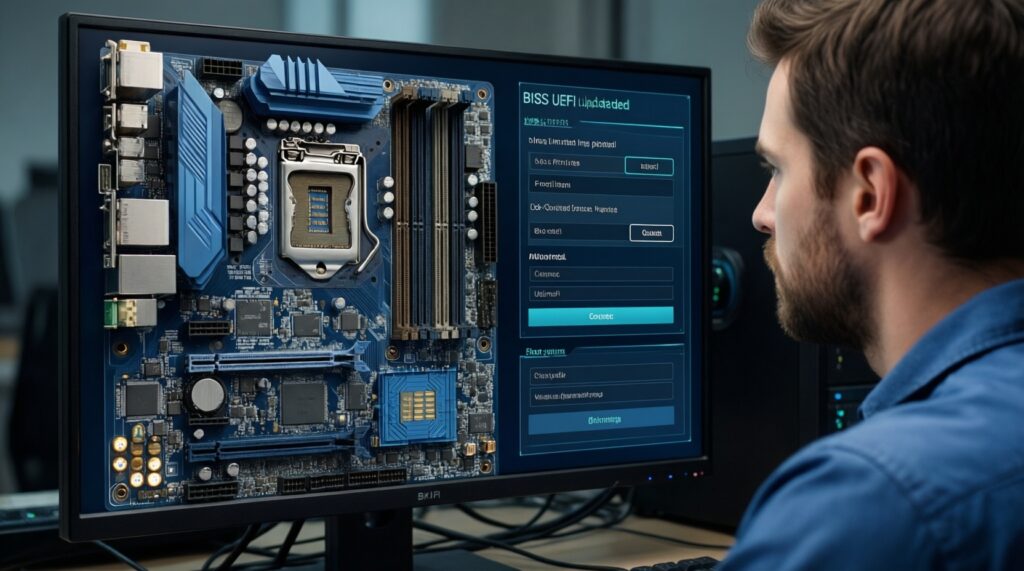
- Confirm the new BIOS/UEFI version in the firmware main screen after the first successful boot.
- Load "Optimized Defaults" once after flashing (if the vendor recommends it), then re-apply only necessary settings.
- Re-check boot mode (UEFI/CSM), SATA mode (AHCI/RAID), and boot order so the OS drive is first.
- Verify Secure Boot state and TPM settings if you use Windows device security features.
- Ensure system time/date is correct (wrong time can break logins and TLS certificates).
- Boot into the OS and confirm basic device function: storage, network, USB, and audio.
- Run a short stability check at stock settings (no overclock) before enabling XMP/EXPO again.
- Re-enable BitLocker protection (if you suspended it) only after you confirm stable boots.
Power, Hardware, and Environmental Precautions to Prevent Bricking
- No overclocking during flash: set CPU/RAM to default; unstable RAM is a frequent cause of corrupted flashes and failed reboots.
- Use stable power: plug directly into a reliable outlet or UPS; avoid loose power strips and shared high-load circuits.
- Do not update during storms/outage-prone periods: schedule when your power quality is predictably stable.
- Use a known-good USB stick: avoid very large, heavily used, or multi-partition drives.
- Do not multitask: if flashing from within BIOS/UEFI, do not connect/disconnect devices mid-process.
- Wait longer than you think: "stuck" often means memory retraining or firmware region rewrite; forced shutdown is the real danger.
- Minimize connected hardware: for marginal systems, disconnect unnecessary USB devices and extra drives before flashing.
- Cooling matters: ensure CPU cooler is properly mounted and fans run; thermal shutdown during firmware operations is rare but avoidable.
Troubleshooting Boot Failures: Diagnostic Steps and Recovery Techniques
If the system does not boot after an update, treat it as a configuration-reset problem first, and a corrupted BIOS second.
Option 1: Clear CMOS and reconfigure essential settings
- Power off, switch PSU off, and disconnect AC power.
- Clear CMOS using the jumper/button (preferred) or remove the battery briefly if the manual allows it.
- On first boot, set boot mode and storage mode correctly (UEFI vs CSM; AHCI vs RAID) before attempting OS boot.
Option 2: Use BIOS Flashback / Q-Flash Plus / dedicated recovery USB
- Prepare the USB exactly as the manual requires (FAT32, correct port, correct filename).
- Run the flashback procedure with the system in the required power state (often standby power only).
- After completion, clear CMOS once and boot with minimal hardware attached.
Option 3: Minimal-boot isolation (POST debugging)
- Boot with only CPU, one RAM stick, and iGPU (if available); disconnect extra drives and peripherals.
- Reseat RAM and power cables; try another DIMM slot per the manual.
- If your board has debug LEDs/beep codes, use them to focus on CPU/RAM/VGA/BOOT stages.
Option 4: Roll back to an earlier BIOS (only if vendor supports it)
- Some vendors block downgrades on certain versions; follow the official procedure if rollback is allowed.
- Prefer rollback via UEFI flasher or flashback rather than Windows tools.
Common Concerns, Misconceptions and Quick Clarifications
Will a BIOS update make my PC faster?
Usually no; updates mainly target compatibility, stability, and security. Any performance change is typically incidental and workload-dependent.
Is it safe to update BIOS from Windows?
It can be safe on a very stable system, but it adds risk from drivers and crashes. If you want the most conservative approach, use the UEFI built-in flasher or a dedicated flashback feature.
Do I need to update BIOS for every new version?
No. Update only when the release notes match your need or when required for new hardware support.
Why did my PC ask for BitLocker recovery after updating BIOS?
Firmware changes can alter measured boot/TPM state. Suspend BitLocker before flashing and keep the recovery key accessible until you confirm stable boots.
If the screen is black after flashing, should I force power off?
Not immediately. Give it time for memory retraining and internal firmware steps; forced shutdown is a common way to corrupt firmware.
Can I downgrade to an older BIOS if something goes wrong?
Sometimes, but not always; some vendors restrict downgrades. Check your motherboard's support notes and use the official method if rollback is supported.