
To build a พีซีประหยัดไฟ สเปคแรง, start with Windows power settings (free gains), then undervolt CPU/iGPU and GPU to cut watts without losing boost behavior, and finally choose efficient parts (CPU/GPU/PSU/motherboard) that avoid waste at idle. Measure before/after, change one variable at a time, and keep rollback paths ready.
Performance vs. Power: Snapshot
- Most "easy" efficiency comes from OS power policy, background tasks, and sensible boost limits before touching voltages.
- Undervolting is safer than overclocking when done in small steps with stability checks and a clear reset plan.
- GPU undervolt typically yields the best performance-per-watt wins for gaming workloads, especially at fixed FPS/refresh targets.
- Hardware selection matters most at idle and light load: PSU efficiency curve, motherboard defaults, and storage/peripheral choices.
- Validate changes with repeatable tests and logging; don't trust a single benchmark run.
Optimize Windows Power Plan and OS Settings for Efficiency
| Prep checklist | Tools / Access | Expected time |
|---|---|---|
|
|
15-30 minutes |
Who this is for
- Gaming/creator PCs where the goal is lower heat/fan noise and better efficiency without sacrificing responsiveness.
- Systems where you're comparing คอมประกอบประหยัดไฟ ราคา options and want "free" tuning before buying parts.
When you should not do this (or do it later)
- Mission-critical workstations that cannot tolerate troubleshooting time.
- Unstable systems already crashing at stock (fix RAM/temps/drivers first).
- Laptops with locked OEM power policies where tweaks cause unexpected throttling (test carefully).
Practical Windows settings that usually reduce waste
- Use a sensible base plan: Start from "Balanced." Only use "High performance/Ultimate" if you've verified it doesn't increase idle draw unnecessarily on your platform.
- Set Energy recommendations: In Windows Settings, apply energy suggestions that don't break your workflow (screen off/sleep timers, app background permissions).
- Control startup and background tasks: Disable non-essential startup items (Task Manager > Startup). Fewer background wake-ups means lower idle power.
- Prefer VRR / frame caps where possible: If you game, capping FPS to your monitor target can reduce GPU power more than many undervolt tweaks.
Quick stability check
- Reboot once after changes.
- Confirm clocks aren't stuck high at idle (check Task Manager + GPU monitoring tool).
- Run a short gaming session and watch for stutter, audio crackle, or USB dropouts (signs of power-state issues).
Safe Undervolting Workflow for CPU and Integrated GPU
| Prep checklist | Tools / Access | Expected time |
|---|---|---|
|
|
30-90 minutes |
What you need (requirements, tools, and access)
- Motherboard/BIOS controls: Offset voltage, curve optimizer, or power limits (names vary by vendor).
- Monitoring: Log Vcore/SoC voltage, CPU package power, temperatures, and clock behavior.
- A rollback plan: Saved BIOS profiles, or at minimum knowledge of how to clear CMOS.
Safe ranges to think in (without chasing magic numbers)
- Move in small increments: If using voltage offsets, adjust in small steps (commonly tens of millivolts) and test between steps.
- Prioritize power limits over aggressive voltage cuts: For many users targeting ซีพียูประหยัดไฟ เล่นเกม, setting reasonable package power limits keeps gaming smooth while reducing spikes.
- iGPU undervolt (when available): Treat it like GPU tuning-small steps, check for visual artifacts and driver resets.
Stability test checklist (CPU/iGPU)
- 10-15 minutes: temperature/thermal-throttle check under sustained load.
- 20-30 minutes: stability check (no WHEA errors, no app crashes).
- Real use: 1-2 game sessions or your actual render/export workload.
Troubleshooting pointers
- Instant reboot/black screen under load: reduce undervolt (less negative) or raise power limits back to stock.
- WHEA warnings in logs: back off the undervolt; treat WHEA as instability even if you don't crash.
- Performance drops: you may be forcing lower boost due to too-low voltage or too-tight power limits.
Undervolting Discrete GPUs: Tools, Limits, and Stability Checks
| Prep checklist | Tools / Access | Expected time |
|---|---|---|
|
|
45-120 minutes |
-
Start with a power cap (low risk)
Lower the GPU power limit slightly and re-test your main game/benchmark. This often reduces heat and noise with minimal tuning complexity, and it's easy to revert.
- If performance tanks immediately, restore the limit and focus on FPS caps or undervolt curve tuning instead.
-
Set a realistic frequency target
Pick a clock you already see during real gaming (not a short burst peak). Your undervolt goal is to hold that clock at a lower voltage consistently, not to chase maximum boost.
-
Tune the voltage/frequency curve in small steps
Adjust the curve so your target clock aligns with a slightly lower voltage, then test. Change one point/segment at a time; avoid big jumps that cause driver resets.
- Rule of thumb for safety: reduce voltage gradually, validate, then repeat until you hit instability and back off.
- Watch for "effective clock" drops (hidden throttling) even if the displayed clock looks fine.
-
Validate for artifacts and driver stability
Run a repeatable benchmark loop, then a real game session. Look for flicker, sparkles, texture corruption, or sudden performance dips-these are classic undervolt failure modes.
- If you see artifacts: raise voltage slightly or lower target clock.
- If the driver restarts: back off the last change and test again.
-
Lock in the profile and retest after cold boot
Save the profile and verify behavior after a full shutdown (cold boot). Some systems behave differently after sleep/hibernate; confirm stability in your normal daily pattern.
When paying for help makes sense
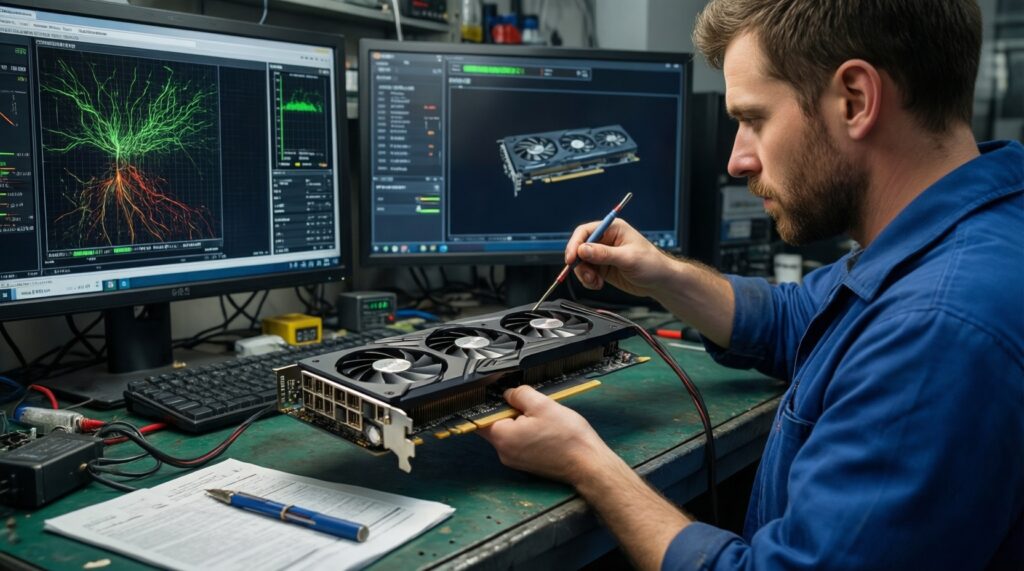
If you want predictable results without spending an evening testing, a local บริการ undervolt การ์ดจอ can be worthwhile. Ask for a before/after log (power, temps, and a stability run) and a saved profile plus reset instructions.
Choosing Low-Power Hardware: CPUs, GPUs, PSUs, and Motherboards
| Prep checklist | Tools / Access | Expected time |
|---|---|---|
|
|
1-3 hours (shopping) |
Efficiency-oriented selection notes (Thailand context)
- CPU: Favor strong per-core performance at moderate power; for ซีพียูประหยัดไฟ เล่นเกม, avoid chasing the highest tier if your GPU/monitor target doesn't need it.
- GPU: Compare models by perf-per-watt behavior and cooler quality, not just peak FPS. If you're searching การ์ดจอประหยัดไฟ ราคา, prioritize cards that hold stable clocks without high fan RPM.
- PSU: Choose a reputable unit sized so typical gaming load isn't at the extreme low or extreme high end. Good transient handling helps stability when you tune power.
- Motherboard: Look for clear BIOS controls (power limits, voltage modes) and stable memory support; messy power defaults can erase your efficiency gains.
Result verification checklist (after building or upgrading)
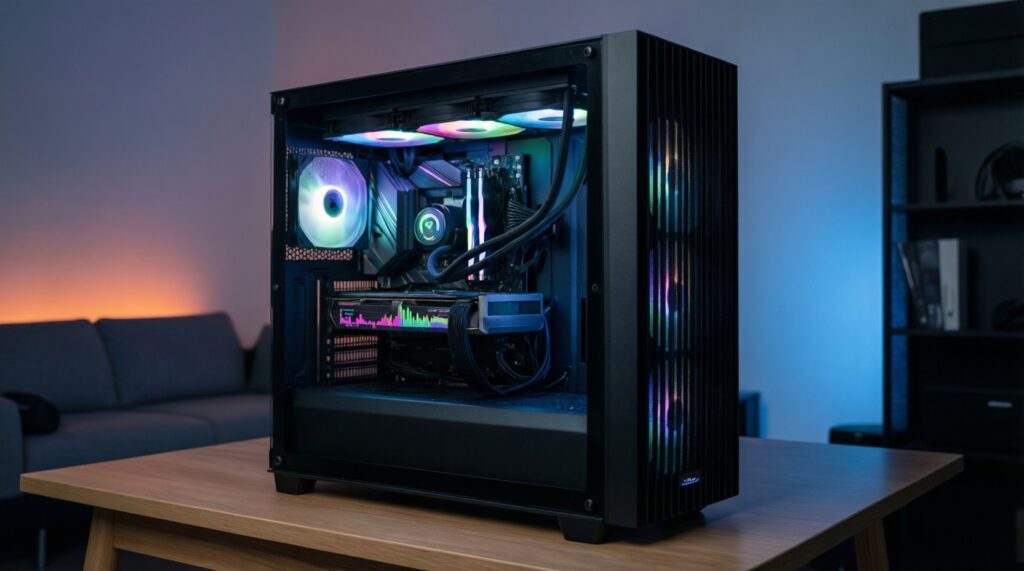
- Idle is actually idle: low CPU usage, no stuck high clocks, no runaway RGB controllers.
- Gaming load is stable: no oscillating clocks or frequent power-limit throttling.
- Thermals are controlled: hotspot/VRM temps remain reasonable for sustained sessions.
- Noise is reduced: fan curves don't "hunt" up/down every few seconds.
- Sleep/wake works reliably (common casualty of unstable undervolts).
- USB devices stay connected under load (power-state instability indicator).
- Performance target met at your chosen FPS cap/resolution.
- Profiles saved/exported (BIOS and GPU tool) for fast recovery.
Complementary Components: Storage, RAM, and Peripherals to Lower Draw
| Prep checklist | Tools / Access | Expected time |
|---|---|---|
|
|
20-60 minutes |
Common mistakes that quietly increase power or reduce stability
- Overvolting RAM for a tiny speed gain: can raise idle/load power and destabilize undervolt efforts elsewhere.
- Too many RGB/USB devices on always-on power: increases idle draw and can prevent deep sleep states.
- Using aggressive background sync/indexing: makes your "idle" look like light load constantly.
- Mixing storage types without planning: multiple spinning drives or high-performance SSDs running hot can add sustained heat load.
- Unmanaged fan curves: fans ramping due to hotspot spikes waste power and create noise without improving performance.
- Over-tight undervolt plus undervalued cooling: chasing the lowest voltage while your case airflow is poor leads to crash cycles and wasted time.
- Cheap PSUs or bad cables: instability under transient spikes gets misdiagnosed as "bad undervolt."
- Ignoring monitor settings: a high-refresh panel without a frame cap can keep the GPU in higher power states on the desktop.
Measure, Benchmark, and Tune: Tools and Test Procedures
| Prep checklist | Tools / Access | Expected time |
|---|---|---|
|
|
30-120 minutes |
Alternatives that often beat undervolting (or complement it)
- FPS cap + VRR: Best when your goal is lower watts with consistent frame pacing, especially for e-sports titles.
- Reduce power limits instead of voltage tweaks: Best when you want predictable behavior with minimal risk and quick rollback.
- Undervolt + small underclock: Best when a specific game is borderline stable; dropping a little frequency can unlock a much lower voltage.
- Improve airflow and fan curves: Best when you're thermally constrained; better cooling can reduce throttling and let you run lower fan power for the same performance.
Quick test procedure (repeatable)
- Run 5-10 minutes idle logging: confirm low background usage.
- Run a fixed benchmark pass: record FPS, power, temps.
- Run 20-30 minutes real gameplay: confirm no stutter, artifacting, or driver resets.
- Review logs: look for throttle flags, clock drops, and error events.
Practical Concerns, Risks, and Troubleshooting
Will undervolting void my warranty?
It depends on the vendor and whether you modify firmware. Using standard driver-level tools and staying within supported controls is typically lower risk than BIOS flashing, but you should assume vendors can deny claims if they consider settings misuse.
What's the safest rollback if the PC won't boot after CPU tuning?
Clear CMOS (motherboard jumper/button) or load BIOS defaults, then reapply only known-good settings. If you saved profiles, restore the last stable one rather than guessing.
Why did performance drop after undervolting?
You may be triggering hidden throttling (power/voltage reliability limits) so effective clocks fall. Raise voltage slightly or reduce the target clock, then retest with logging.
How do I tell GPU undervolt instability from a bad driver?
If issues appear exactly after a curve change and disappear at default settings, it's likely the undervolt. If problems persist at stock across multiple games, try a clean driver reinstall and check hardware temps.
What symptoms mean my undervolt is "almost stable" but not safe?
Rare driver resets, single-app crashes, visual artifacts, or WHEA errors are not acceptable for daily use. Back off one step and revalidate after a cold boot.
Is buying "efficient" parts still worth it if I'll undervolt anyway?
Yes-efficient silicon and good coolers make undervolting easier and more stable, and they usually idle better. This matters when building a คอมประกอบประหยัดไฟ ราคา plan that stays efficient beyond gaming load.
When should I consider professional help for GPU tuning?
If you need a guaranteed stable profile quickly, or you're managing multiple PCs, a บริการ undervolt การ์ดจอ can save time-ask for logs and a reset guide as deliverables.