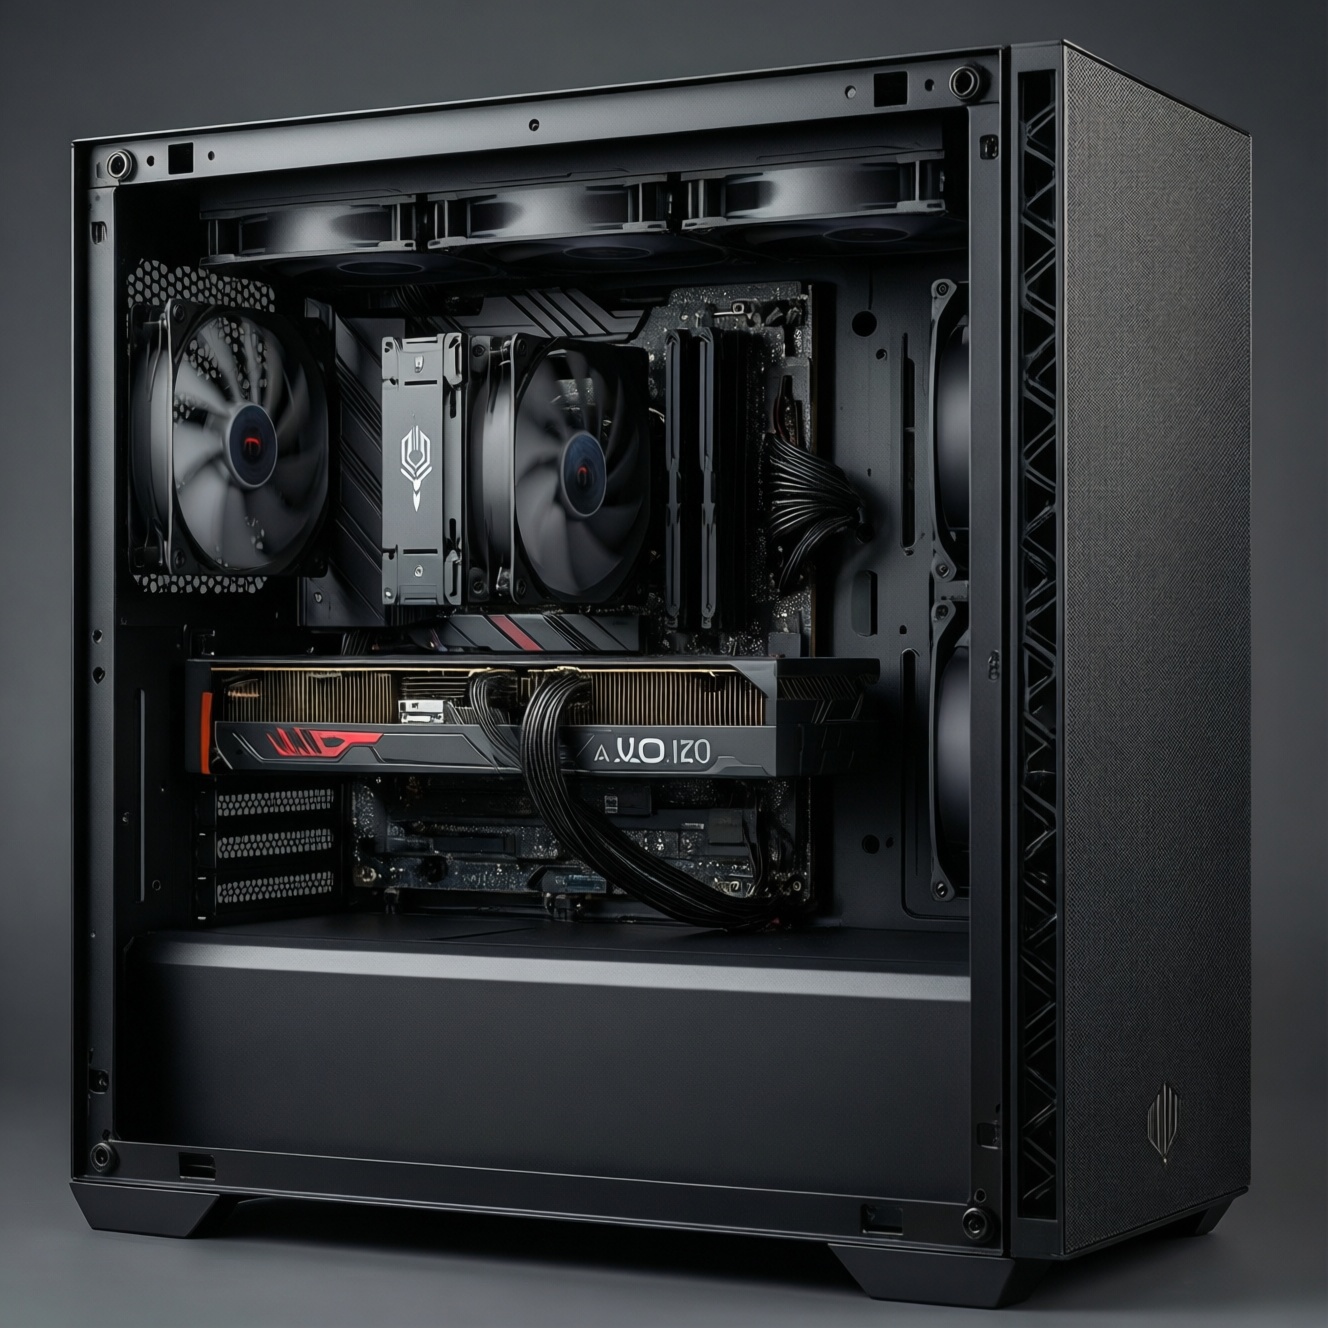

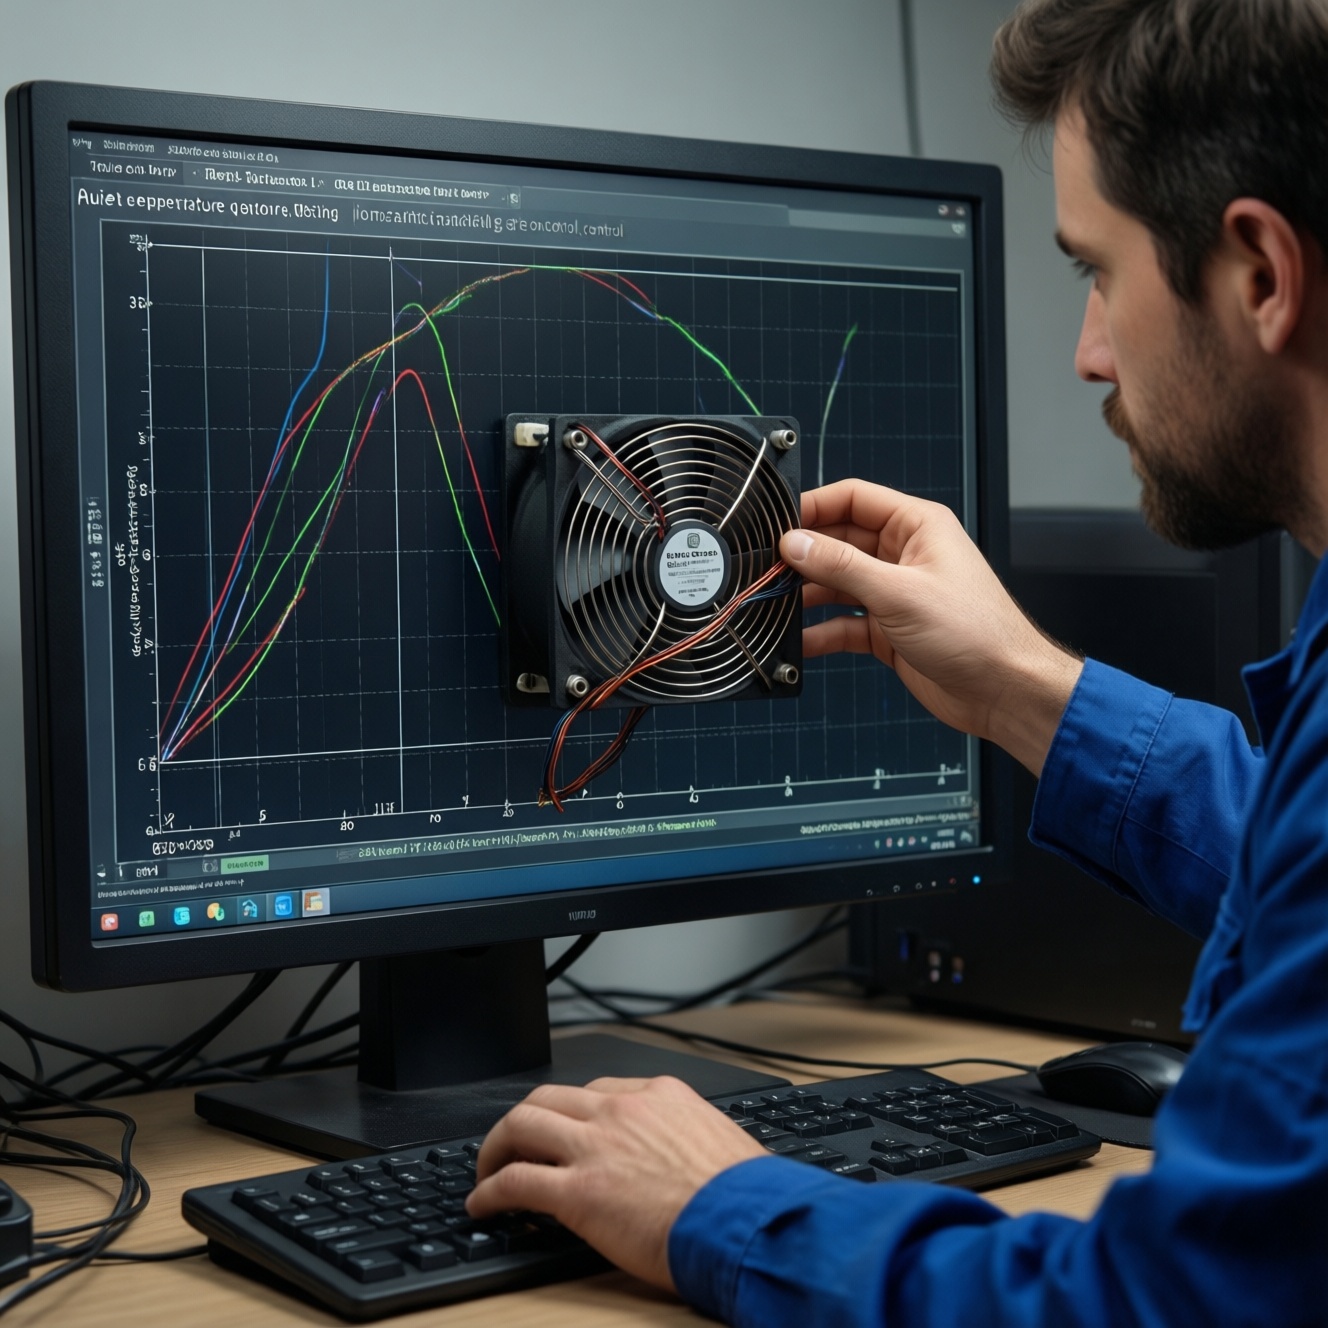
To set a quiet yet safe fan curve, first record idle and load temperatures, then create a gradual ramp that keeps fans near their lowest stable RPM until mid temperatures, and only ramps hard near your safety cutoff. You can do this via ตั้งค่าพัดลมใน BIOS for always-on control or with software for finer per-sensor tuning.
Essential principles for quiet, effective fan curves
- Prioritize stability: every fan must reliably start spinning at your chosen minimum duty/RPM.
- Use a gentle slope in the "everyday" temperature range; reserve aggressive ramping for high heat.
- Pick the right sensor: CPU package for CPU cooler fans; GPU temperature for GPU; motherboard/VRM or case sensor for case fans.
- Add hysteresis (or smoothing) to prevent constant RPM hunting and audible "revving."
- Set hard safety limits: if temperature rises fast, the curve must reach high airflow quickly.
- Validate under real workloads and re-check after dusting, seasonal changes, or hardware upgrades.
How fan curves balance noise and temperatures
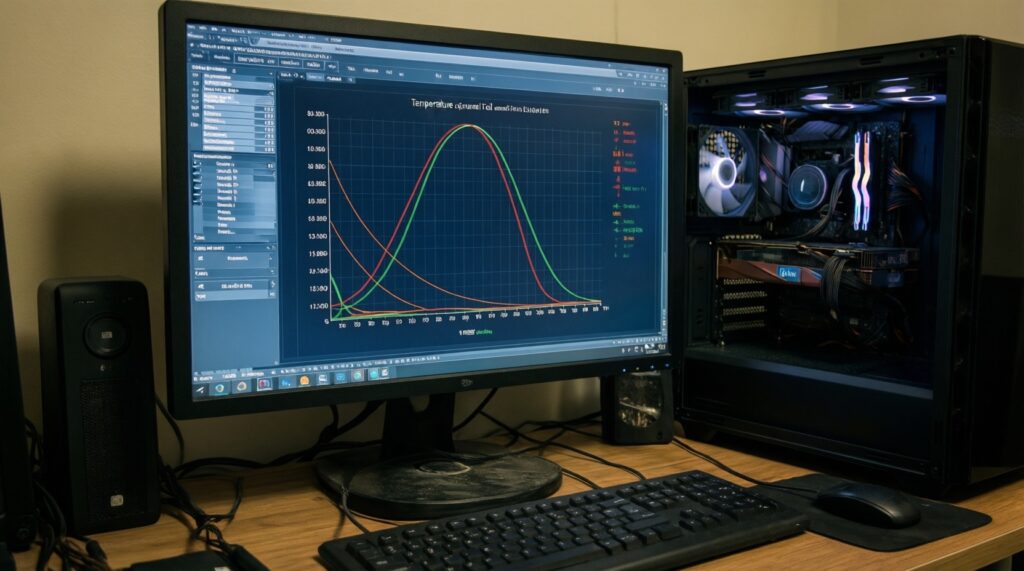
A fan curve is a rule that maps temperature to fan speed. It fits you if you want a quieter PC at idle/light load without risking thermal throttling under sustained load. It's especially useful when you're trying to ตั้งค่า fan curve for a mixed-use PC (work + gaming) and want predictable acoustics.
Do not tune aggressively if:
- You already hit thermal limits or throttling at stock settings (fix airflow/heatsink seating first).
- Your fans are unstable at low speed (stopping/restarting), or you hear bearing chatter at certain RPM.
- You rely on a single fan for a critical hotspot (VRM, small ITX cases) and have no temperature headroom.
Choosing between BIOS control and third-party software
For most users, ตั้งค่าพัดลมใน BIOS is the safest baseline: settings apply before Windows loads and after crashes. Software is ideal when you need per-app profiles, more sensors, or complex linking. Either approach requires: access to UEFI/BIOS, knowledge of which headers (CPU_FAN, CPU_OPT, CHA_FAN) your fans use, and whether each fan is PWM (4-pin) or DC (3-pin).
| Approach | Best for | What you need | Main risks / watch-outs |
|---|---|---|---|
| BIOS/UEFI fan control | Always-on reliability, simple curves, fewer failure modes | UEFI access, correct header mode (PWM vs DC), fan calibration if available | Limited sensors; some boards apply coarse steps; wrong mode can cause stalling |
| Third-party tools (โปรแกรมปรับรอบพัดลมคอม) | Advanced logic (mix sensors), per-profile switching, detailed hysteresis | Admin rights, background service/app, stable sensor readings | Profiles may not load after updates/crashes; conflicts with vendor utilities; may override BIOS unexpectedly |
Baseline measurement: tools and metrics to collect first
Risk-aware limits before you touch any curve
- Confirm fan header limits and fan type (PWM/DC). Don't exceed header current or use dubious splitters without external power.
- Check minimum reliable spin: some fans stall below a certain duty cycle, even if they "look fine" for a minute.
- Respect warranty/health: constant start/stop and rapid oscillation can stress bearings; avoid "zero RPM" for case fans unless the case has excellent convection.
- Have a recovery plan: know how to reset BIOS (clear CMOS) if you set a curve that triggers fan errors or boot loops.
-
Map your fans to headers and roles Identify which physical fan is on CPU_FAN, CPU_OPT, and each CHA/SYS_FAN header. Assign roles: CPU cooler fan(s), front intake, rear exhaust, top exhaust, radiator fans.
- If you're planning to ซื้อพัดลมเคสเงียบ, note where turbulence is worst (front mesh, restrictive filters, tight top mounts).
- Set the correct control mode (PWM vs DC) In BIOS, ensure 4-pin fans run in PWM mode and 3-pin fans in DC/Voltage mode. Run any "fan tuning/calibration" feature your board provides so the BIOS learns min/max behavior.
-
Measure idle baseline Boot to the OS, let the system sit for several minutes at desktop. Record CPU temperature, GPU temperature, and a motherboard/VRM or "System" temperature, plus current fan RPM.
- Also note subjective noise: tonal hum, airflow hiss, or rattles that appear at specific RPM bands.
-
Measure controlled load (CPU and GPU) Run a repeatable CPU load and a repeatable GPU/game load separately. Record peak temps after they stabilize, plus fan RPM and whether noise becomes objectionable.
- CPU-only load helps tune CPU_FAN behavior; a GPU/game load reveals case airflow needs.
-
Find each fan's minimum stable duty/RPM In BIOS or software, lower each header's speed until the fan just begins to stall or becomes inconsistent, then raise it slightly. This becomes your safe minimum.
- As a conservative starting point, many builds land around ~20-35% PWM for quality PWM case fans, but always verify on your exact fans.
Step-by-step: building a noise-first fan curve
This is a practical starting curve pattern you can implement in BIOS or via a โปรแกรมปรับรอบพัดลมคอม. Use your measured minimum stable speeds and keep ramps smooth.
- CPU cooler fans: Hold near minimum stable speed at low temps, ramp gradually through mid temps, then ramp fast near your upper range. If your BIOS supports it, add a short response delay (smoothing) to ignore brief spikes.
- Case intake/exhaust: Tie case fans to GPU or "System" temperature if possible; otherwise use CPU with a gentler slope to avoid loud reaction to brief CPU boosts.
- Top/radiator fans: Avoid ultra-low RPM if the radiator is restrictive; use a slightly higher minimum to prevent motor ticking and stop-start behavior.
Conservative example targets (adjust to your system)
- Case fans: minimum stable (often ~25-40%), gentle ramp to mid range, then 70-100% only when internal/system temps are clearly rising.
- CPU fans: minimum stable (often ~25-35%), mid range by moderate CPU temps, then 80-100% as you approach your CPU's high-temperature zone.
Result check (run this checklist after every change)
- All fans always start spinning after boot and after waking from sleep.
- No fan oscillates up/down every few seconds at idle.
- CPU temperature under sustained CPU load stays below your comfort limit without hitting throttling behavior.
- GPU/game load does not cause case temps to creep upward over time (watch "System/VRM" trends).
- No new tonal noise appears at your most common RPM range (often 700-1100 RPM for 120 mm fans, but verify).
- Dust filters installed: the curve is validated in the "real" configuration, not with panels removed.
- Emergency behavior works: at high temperatures, fans reach high speed quickly.
- After a reboot, settings persist and software profiles (if used) load reliably.
Tuning advanced options: multiple zones, slopes and hysteresis
- Using CPU temperature for all case fans: modern CPUs spike quickly; case fans will surge audibly. Prefer GPU/System sensors for case airflow when available.
- Too-low minimum speeds: a fan that barely spins can stall as dust builds up; set minimum with margin above the stall point.
- Sharp curve "corners": big jumps (e.g., 30% to 70% at one temperature point) sound harsh. Use a smoother slope.
- No hysteresis/smoothing: without hysteresis, fans hunt around thresholds. Add hysteresis or increase averaging time so speed changes feel deliberate.
- Multiple zones fighting each other: if front intake follows GPU but rear exhaust follows CPU, pressure balance can swing and noise can worsen. Keep zone logic consistent (or link to the hotter of the two sensors if supported).
- Chasing silent idle at any cost: near-silent idle is pointless if it forces loud catch-up later. A slightly higher baseline often reduces peak noise.
- Ignoring component-specific hotspots: SSDs, VRM, and compact cases may need steady airflow even when CPU is cool.
- Overriding vendor utilities unpredictably: running motherboard software plus another fan tool can cause conflicts. Use one controller path and disable the rest.
Validation, safety limits and ongoing monitoring
If you can't reach acceptable noise and temperatures with fan curves alone, use these alternatives when appropriate:
- Improve airflow efficiency: clean filters, manage cables, seal obvious recirculation gaps, or replace restrictive panels/filters where possible.
- Upgrade cooling hardware: if the CPU cooler is undersized or poorly mounted, it may be smarter to ซื้อชุดระบายความร้อนซีพียู than to run fans loudly forever.
- Choose better fans for your use case: if your current fans click at low PWM or have poor bearings, ซื้อพัดลมเคสเงียบ with smoother motor behavior can make tuning easier.
- Reduce heat production: modest CPU/GPU undervolting or power limits can cut heat and noise without changing hardware, as long as stability is tested.
Practical answers to typical tuning risks and mistakes
Can I damage hardware by setting a fan curve too quiet?
Yes, if it allows sustained overheating or throttling. Keep a clear high-temperature ramp and confirm temperatures under realistic long loads.
Why do my fans ramp up and down constantly at idle?
Your curve is reacting to short temperature spikes and lacks hysteresis/smoothing. Add hysteresis, increase averaging, or tie case fans to a steadier sensor than CPU.
What is a safe minimum fan speed to start with?
Use the lowest speed where the fan reliably spins after every cold boot and sleep resume, then add a small margin. Never assume a percentage is safe without testing your exact fans.
Should I tune in BIOS or with software?
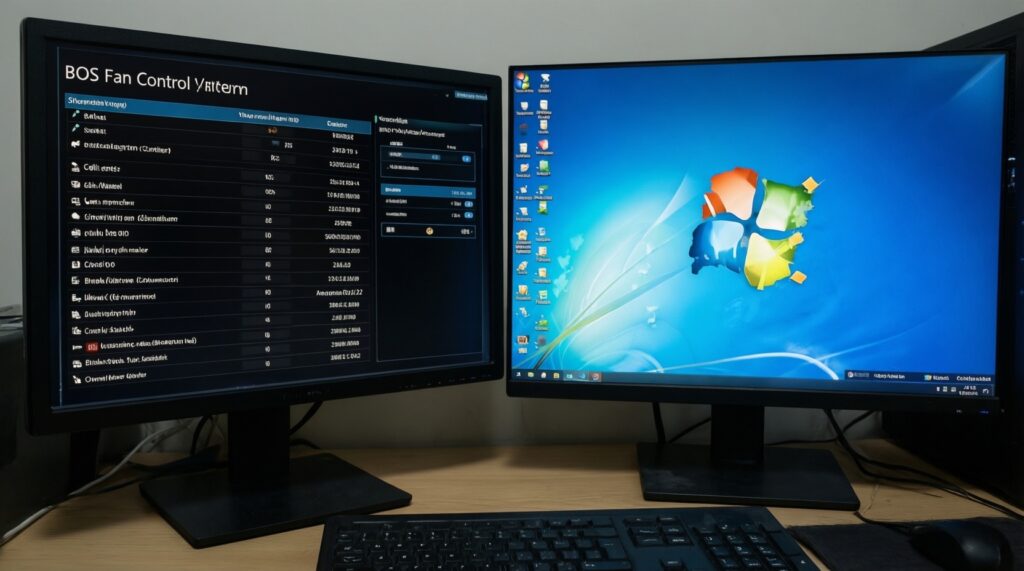
BIOS is the safest default because it works before the OS and after crashes. Software (โปรแกรมปรับรอบพัดลมคอม) is useful for advanced sensor mixing and profiles, but you must ensure it loads reliably.
Why does my CPU fan get loud during brief tasks?
Modern CPUs boost quickly and report spikes. Use smoothing/step delays and a gentler mid-range slope so short spikes don't trigger big RPM changes.
My PC won't boot or shows "CPU fan error" after changes-what now?
Raise the CPU_FAN minimum or disable fan-stop for that header, then re-test. If needed, reset BIOS settings (clear CMOS) to recover.
When should I stop tuning and change hardware instead?
If acceptable temperatures require constantly high RPM or the system throttles even with aggressive fan speeds, address airflow or cooling capacity (cooler, case ventilation, or better fans) rather than forcing an extreme curve.