
To update BIOS and drivers safely, first confirm your exact motherboard/laptop model, current versions, and whether the update fixes your real issue (freezes, instability, or BSOD). Then create recovery options, download only vendor-signed packages, update BIOS in UEFI using a stable power source, and update drivers in a controlled sequence with rollback points.
Critical Preparations Before Firmware and Driver Updates
- Identify the exact device: motherboard model/revision or laptop SKU, plus current BIOS/UEFI version and Windows build.
- Use stable power: plug in AC, disable sleep/hibernation temporarily, and avoid updating during storms or on low battery.
- Plan rollback: know how to enter UEFI, how to boot Advanced Startup, and how to uninstall/rollback drivers.
- Stop "optimizer" tools: pause third-party tuning/overclocking apps; revert CPU/RAM to default before firmware work.
- Keep essentials ready: a USB flash drive (FAT32), BitLocker recovery key (if used), and admin access in Windows.
Assessing Compatibility and Version Dependencies
Updating firmware/drivers is appropriate when you have reproducible instability (random freezes, device dropouts), new CPU/RAM support needs, security/compatibility fixes, or you are troubleshooting ซ่อมคอมจอฟ้า BSOD with evidence pointing to firmware or drivers.
- Proceed if the vendor notes mention your symptom, your hardware, or your OS version.
- Delay if your system is stable and you have no compatibility need; unnecessary firmware changes add risk.
- Do not update BIOS right now if you can't ensure stable power, you can't access recovery options, or you're using aggressive overclocks/undervolts.
- Check dependencies: some BIOS releases require a "bridge" version first; some chipset drivers are prerequisites for storage/USB stability.
Creating Reliable System Backups and Recovery Media
Before you อัปเดต BIOS or อัปเดตไดรเวอร์คอมพิวเตอร์, prepare recovery so you can revert quickly if boot fails or a driver causes crashes.
- System restore point: Windows Search → "Create a restore point" → Create.
- Full image backup (recommended): use Windows "Backup and Restore (Windows 7)" or a trusted imaging tool to an external drive.
- Recovery USB: Control Panel → Recovery → "Create a recovery drive" (include system files if offered).
- BitLocker key: if BitLocker is enabled, save the recovery key (Microsoft account, file, or print). Firmware changes can trigger recovery prompts.
- Driver snapshot (quick rollback aid): in Device Manager, note key versions; optionally export drivers:
pnputil /export-driver * C:DriverBackup
Sourcing Official BIOS and Driver Packages Safely

Risks and limits to accept upfront:
- BIOS/UEFI flashing can brick the board if power is lost or the wrong file is used.
- Wrong chipset/storage/GPU drivers can cause boot loops, missing Wi‑Fi, or new BSODs.
- "One-click" tools may push mismatched drivers on OEM laptops; avoid blind automation.
- Some vendors lock BIOS updates behind OEM utilities; bypassing them can fail or void support.
-
Confirm exact model and revision
For desktops, read the motherboard model/revision in UEFI or on the PCB; for laptops, use the OEM model code (SKU). In Windows, verify with
msinfo32(System Information) → BaseBoard Product/Version and BIOS Version/Date. -
Use only official vendor pages
Download BIOS/UEFI and drivers from the motherboard brand, laptop OEM site, or the component vendor when appropriate (GPU from NVIDIA/AMD/Intel). This is the safest answer to "วิธีอัปเดต BIOS เมนบอร์ด" without guessing file compatibility.
- Avoid reposted BIOS files, forums re-uploads, and "driver pack" torrents.
- Prefer releases that list your CPU generation, memory, or stability fixes in the notes.
-
Verify file integrity and signatures when possible
Check that the downloaded archive matches what the vendor provides (hash if published) and that Windows shows a valid digital signature for driver installers.
- Driver signature check (common): file → Properties → Digital Signatures.
- If a BIOS update uses a capsule file (e.g.,
.CAP,.BIN), ensure it matches your exact board family.
-
Choose the right update method for your platform
Prefer UEFI built-in flash tools (e.g., EZ Flash, M-Flash, Q-Flash) over Windows flashing utilities unless the OEM explicitly requires Windows for your model.
- For laptops, many OEMs require their updater to handle embedded controller (EC) sequencing.
-
Be cautious with any โปรแกรมอัปเดตไดรเวอร์
Use a vendor tool only if it is from your OEM/component maker and it shows exact hardware IDs and versions. Avoid third-party "auto driver update" apps that don't clearly map the driver to your device hardware ID.
Step-by-Step BIOS Update Procedures for Desktops and Laptops
- Reset to stable defaults: Enter UEFI → Load Optimized Defaults; disable CPU/RAM overclocks (XMP/EXPO can be re-enabled later).
- Prepare USB: Format a USB drive as FAT32; copy the BIOS file to the root (and rename if the vendor requires a specific name).
- Enter UEFI flash tool: Reboot → press
Del/F2→ open the built-in utility (names vary: EZ Flash / Q-Flash / M-Flash). - Select the exact file: Choose the BIOS image on the USB; confirm the model match shown by the tool.
- Flash without interruption: Do not power off; do not press keys; let it reboot as needed. On laptops, keep AC connected.
- First boot after flash: Enter UEFI again → verify version → Load Optimized Defaults once more → save and exit.
- Reapply settings carefully: Restore only necessary settings (boot order, virtualization, fan curves). Enable XMP/EXPO only after stability checks.
Post-BIOS update verification checklist:
- UEFI shows the expected new BIOS version and correct date/time.
- Windows boots without BitLocker recovery prompts (or you can unlock with your saved key).
- Device Manager has no new unknown devices.
- Network and storage are detected correctly (Wi‑Fi/Ethernet, NVMe/SATA drives).
- Temperatures and fan behavior look normal at idle and under light load.
- Sleep/wake works once (test a short sleep cycle).
- No new WHEA errors in Event Viewer (Windows Logs → System) after normal use.
Driver Update Best Practices: Sequencing, Rollbacks and Testing
Use a controlled sequence to reduce conflicts and make rollback obvious. For most Windows systems, update in this order: chipset → storage/IRST (if used) → network → audio → GPU → peripherals (printer, controller, etc.).
Common mistakes that create instability:
- Updating everything at once (you lose the ability to identify which change caused freezes/BSOD).
- Installing a laptop driver from a different model line (touchpad, hotkeys, power management) and breaking OEM features.
- Replacing chipset/ME/PSP components with mismatched versions (especially when mixing OEM and generic packages).
- Using "cleaner" utilities to delete driver stores without a recovery plan.
- Skipping a reboot when the installer requests it (kernel drivers may remain half-applied).
- Letting Windows Update overwrite a known-good GPU driver during troubleshooting (temporarily pause updates if needed).
- For GPUs: mixing remnants of old drivers with new ones; if crashes started after GPU updates, use a clean uninstall approach.
- Assuming a โปรแกรมอัปเดตไดรเวอร์ always picks the best driver; verify the hardware ID match in Device Manager (Details → Hardware Ids).
Rollback options to keep ready:
- Device Manager → device → Properties → Driver → Roll Back Driver (if available).
- Settings → Windows Update → Update history → uninstall driver updates (when applicable).
- System Restore to the point created before the change.
- Safe Mode boot for removing problematic drivers.
Post-Update Validation, Monitoring and Blue-Screen Troubleshooting
After updates, validate stability before making more changes. If problems appear, reduce the system to a known-good baseline and change one variable at a time.
Alternatives when updating is not the best next step
- Revert to last known-good versions: If instability began right after you อัปเดตไดรเวอร์คอมพิวเตอร์ or flashed BIOS, roll back drivers or load previous BIOS (only if your board supports BIOS Flashback/dual BIOS).
- Stability-first tuning: Disable XMP/EXPO, remove undervolts, and test RAM at JEDEC defaults; many "random" crashes are memory training/voltage related after firmware changes.
- Use built-in diagnostics before more updates: Check Event Viewer for WHEA/Kernel-Power; run
sfc /scannowandDISM /Online /Cleanup-Image /RestoreHealthto rule out OS corruption. - Targeted BSOD triage: For ซ่อมคอมจอฟ้า BSOD, remove recently added drivers/apps, disconnect new peripherals, and test with minimal devices; if the system stabilizes, reintroduce components one by one.
Common Concerns and Quick Clarifications
Is it safe to อัปเดต BIOS on a stable PC?
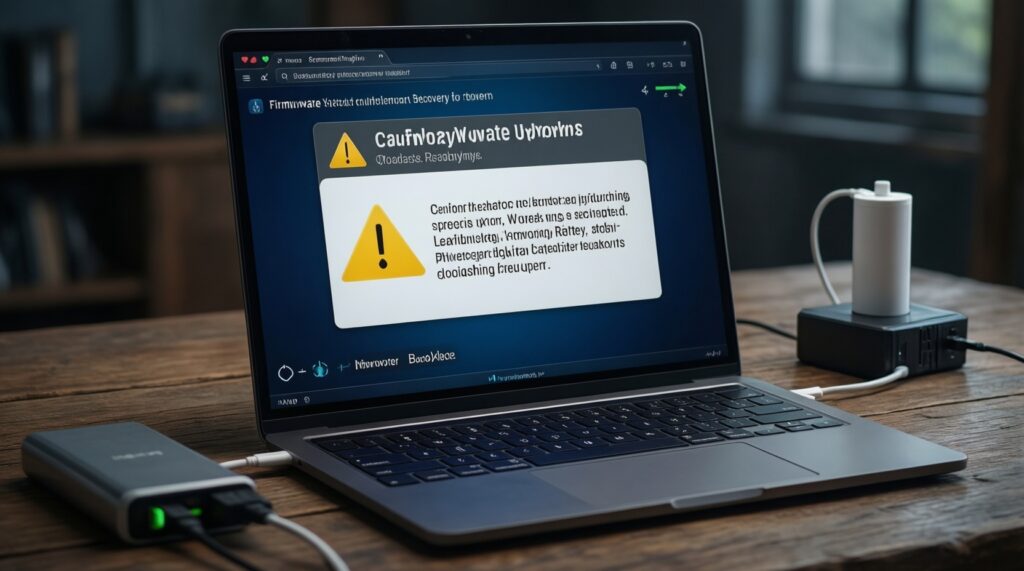
It's safe only when you have a clear reason (compatibility, stability fix, security note) and stable power plus recovery options. If the system is fully stable and you don't need a fix, delaying is reasonable.
What is the safest วิธีอัปเดต BIOS เมนบอร์ด for desktops?
Use the motherboard's built-in UEFI flash utility (Q-Flash/M-Flash/EZ Flash) with the correct file on a FAT32 USB drive. Avoid Windows-based flashing unless the vendor explicitly instructs it for your model.
Should I update chipset drivers before GPU drivers?
Yes-chipset first is a good baseline because it affects PCIe, USB, storage, and power behavior. Then update GPU, and test stability before touching optional drivers.
Are third-party โปรแกรมอัปเดตไดรเวอร์ recommended?
Generally no, unless it's an official OEM/component tool that clearly matches your hardware IDs. Blind auto-updaters often install mismatched laptop drivers and can create new crashes.
What should I do if I get a BSOD right after a driver update?
Boot Safe Mode, roll back the driver or uninstall the recent update, then reboot normally. If the issue persists, use System Restore to return to the pre-update point.
How do I confirm a driver update actually applied?
Check Device Manager → device Properties → Driver tab for Provider, Date, and Version, and confirm it matches the package you installed. Reboot once to ensure kernel-mode components are loaded.
Can a BIOS update trigger BitLocker recovery?
Yes, firmware changes can be interpreted as a platform integrity change. Keep your BitLocker recovery key available before flashing.